


Edit:
The oldest post i could find referring to what we call the Ego/pneu Mag design. Punisher's Customs did it first as best as I can find.
https://www.automags.org/forums/showthread.php?t=22012
I would also like to give credit to"latches109" for the idea and the original how to thread. Thanks for this easy to build design. It has led to many different custom mags.
https://www.automags.org/forums/showt...ghlight=emaggo /Edit
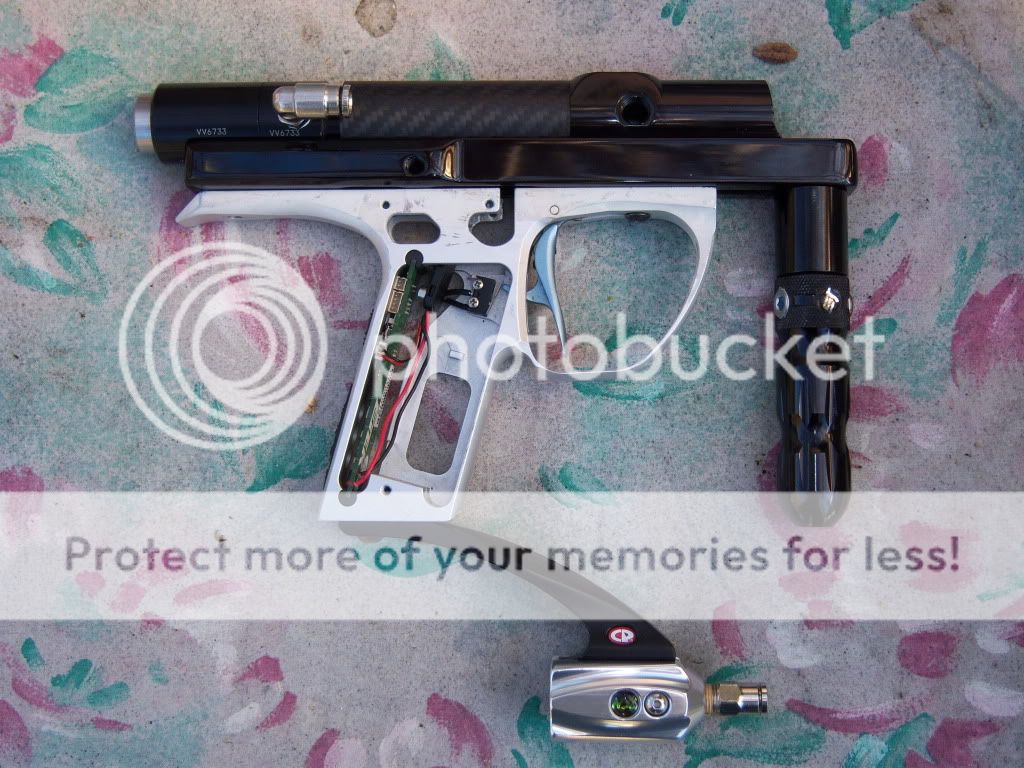
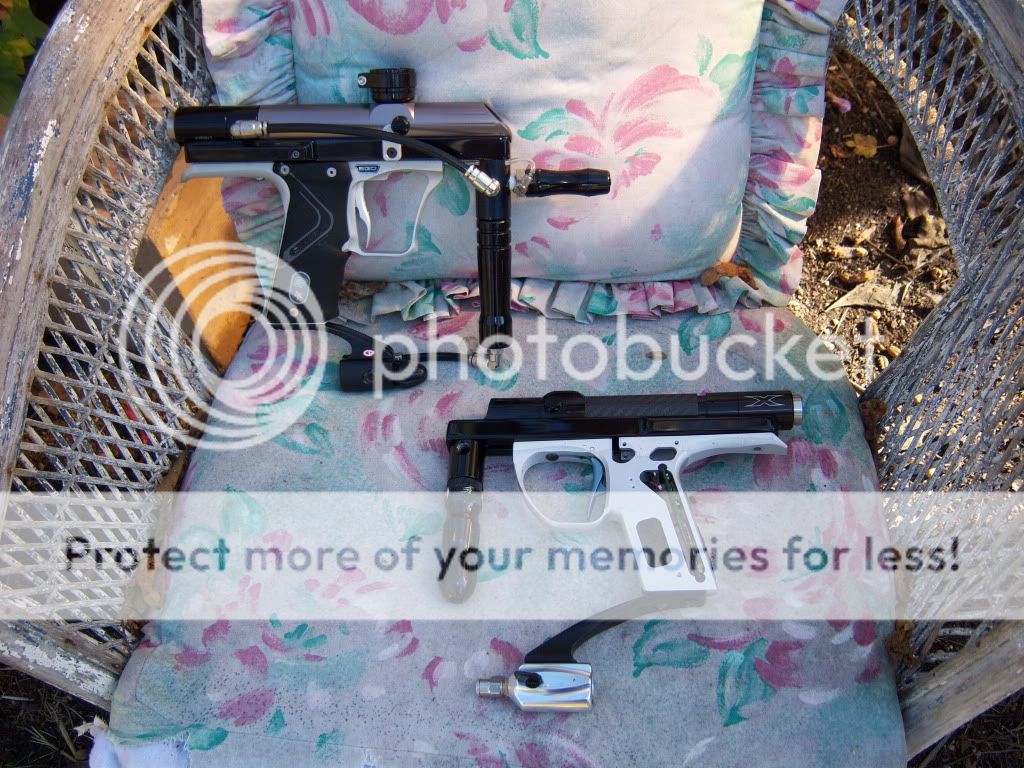
The purpose of this thread is to show how i am doing my ETEK-EP-Mag conversion. Keep in mind this is the first time i am performing the mod and welcome any advise from the pros on what i am doing wrong. I have a fine example done by Loguzzzzzz to guide me though. All measurements and instructions are specific to the parts i am using. This ETEK frame is almost identical to the star frame done by Loguzzzzzz
So here we go
My last build thread
https://www.automags.org/forums/showt...=arnolds+metal
X Valve with LX bolt.
ETEK 2 frame with stock board.
RPG Recon Rail
Still going with the SMC-SDG-32 noid also the SMC SY113A-SG-PM3 will fit and handles higher pressure.
Ram (Clippard MPA-3, Machined/modified to fit by Loguzzzzzz)
LPR Palmer Pebble
For the eyes I am going to suggest people look into hidden Ego eyes developed by me and offered by Luke's Customs. Here is the thread to there development.
https://www.automags.org/forums/showt...67#post2760367
And here is Luke's website.
http://www.lukescustoms.com/page0018.htm
They make a nice couple.
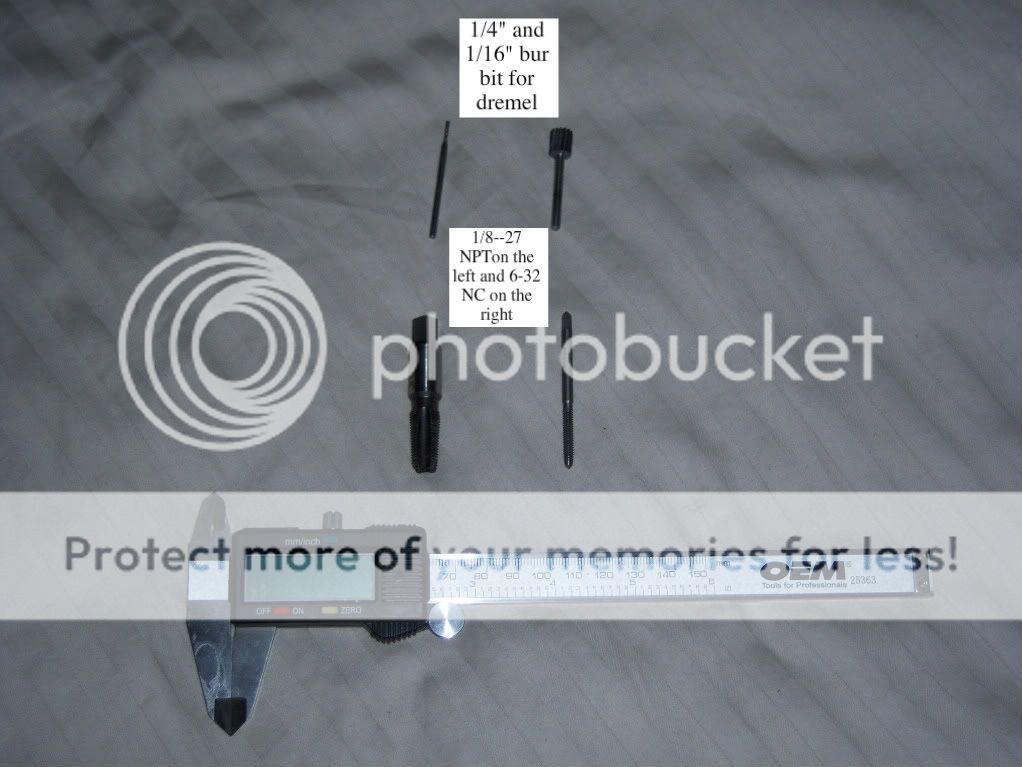
Tools that you mite not have. You will need other tools but these are the ones you will most likely need to buy.
First off is laying out the ram location and set screws. Drill for the set screws with a 3/32 dril bit
Then you take out some material so the ram will fit with a little friction. You will need to take a bit off the width of the rail and also dremel out the area circled to get the fitting on the bottom of the ram to fit
Then tap the set screw holes with a 6-32 tap.
Then set the ram in its general location


 Reply With Quote