


I have had a few PMs asking for some pictures of this build so here it is all done and ready for anodizing. This thing shoots lasers now that it has eyes
Specs
X-Valve
Ego Star frame with EP mod(done by Loguzzzzzz)
Ram (Clippard MPA-3, Machined/modified to fit by Loguzzzzzz)
Unknown LPR off of a dragonfly
UL RPG Recon rail (milled for eyes by Luke's Customs)
UL body(milled for eyes/extra detent by Luke's Customs)
Laser eyes(functional, Eyes and eye plates supplied by p8ntbal4me)
PMI gas through for grip
Freak barrel set
CP drop and on/off asa
SMC S070-SDG-32 Noid(good luck finding one in stock)
Extra parts to anodize for different configurations. It is good to have extra parts anodized with your marker. that way if you want to change something for a different kind of play, or something brakes, or you are tired of the way it looks, then all you have to do is bolt on a different piece.
Bullet LPR
RPG Pnumatic frame
Intelli frame
CP direct mount on/off asa
STI gass through
Photobucket album for this build
http://s971.photobucket.com/albums/a.../UL%20Ego-mag/
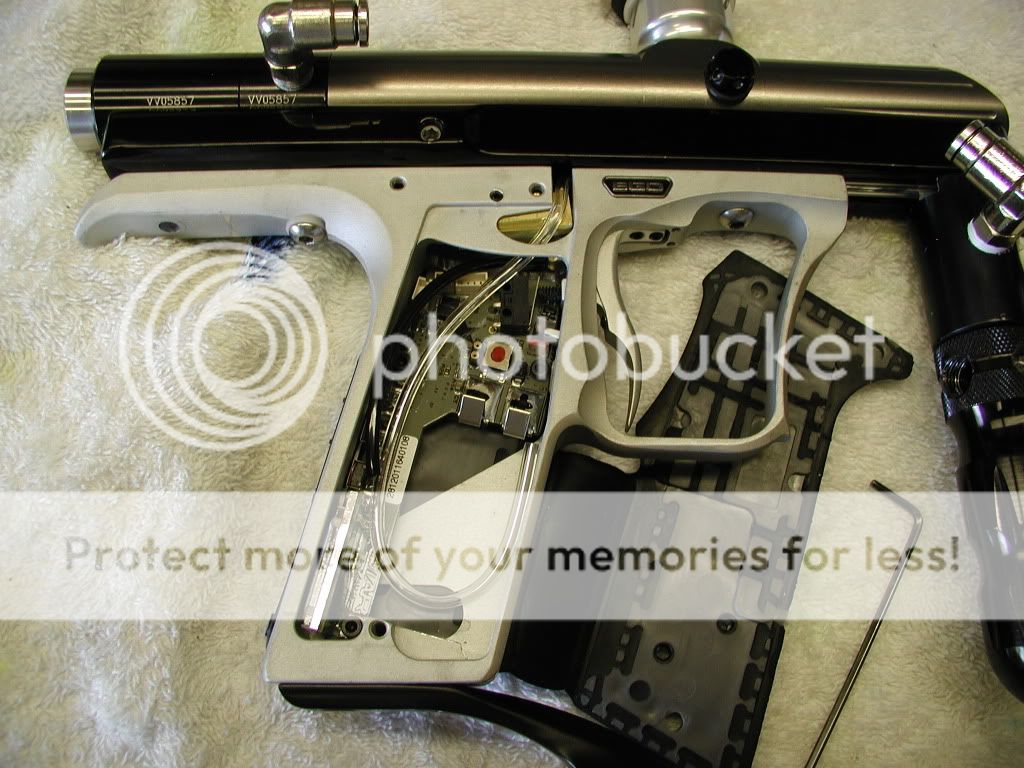
LPR setup (Tap size 1/8"x27 npt)
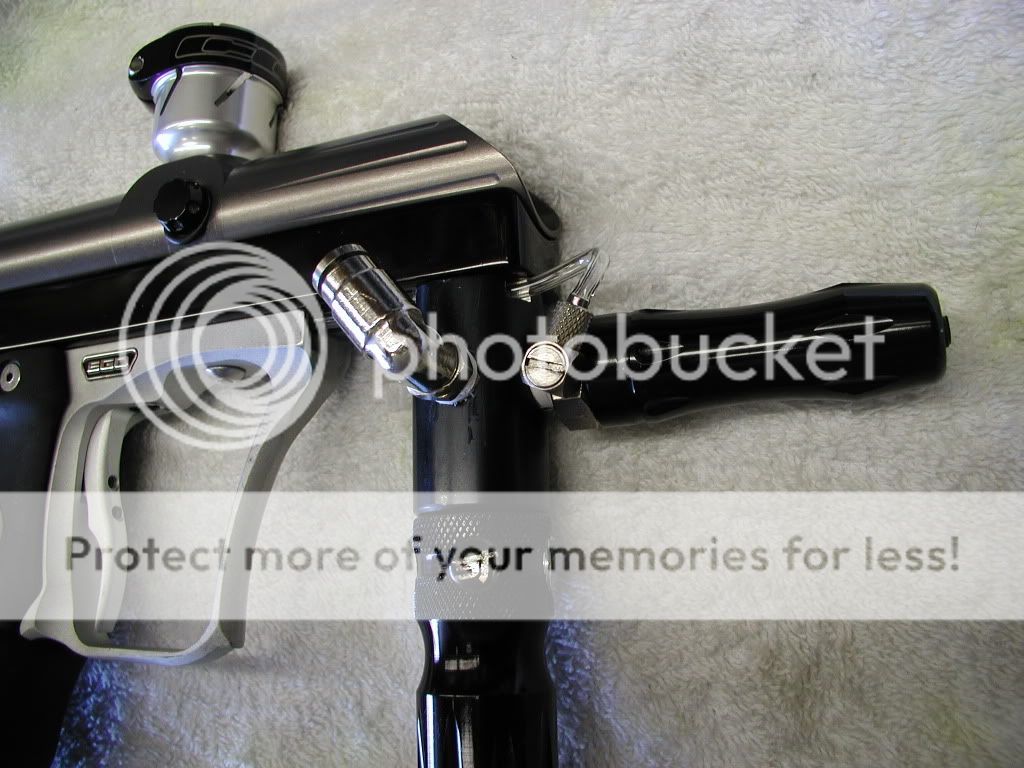
The ram assembly
Instructions From Loguzzzzzz "I machine the frame out a little on top and then shave the sides of the MPA-3 until it fits inside with a little friction. Take the modified ram and place it into the frame and adjust it so that it sits low enough in the frame to clear the sear and high enough to clear the board. Then I remove the trigger rod from the sear and place the frame and rail, with sear, together to mark the frame(for the main valve screw) with the sear it in the cocked position and the end of the ram in the proper position. I try to keep 1/16" to 1/8" between the sear and the ram." I edited for clarity
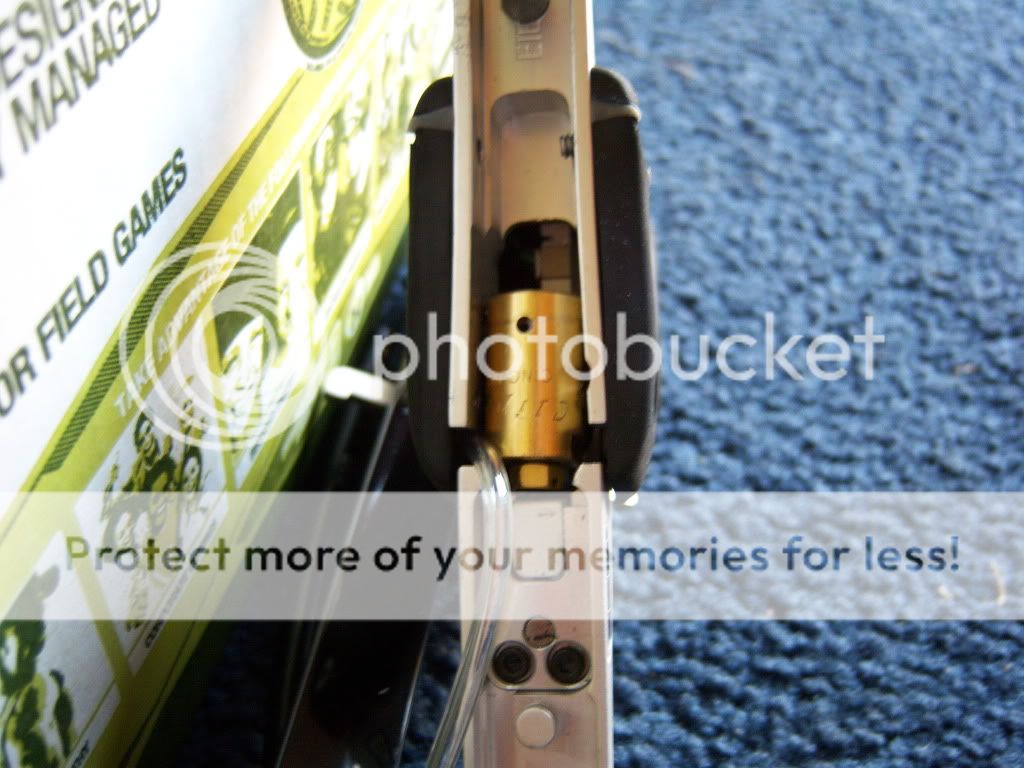
Looking down through the rail and sear assembly at the ram and hose from the LPR
The set screw for the ram.(Tap size for ram screws 6-32)Also the front screws from the sticky grips also holds the ram, for extra measure.
Input hose from lpr(clear one) and the line to the ram(black one)
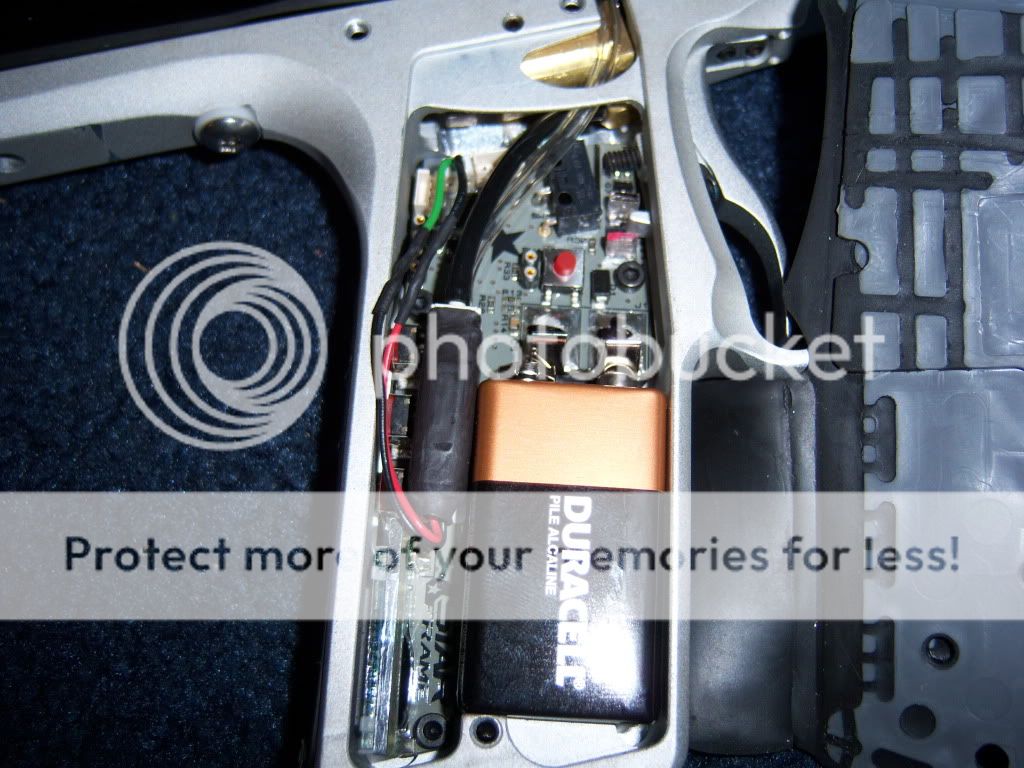
Grip with noid(SMC Noid)
Another shoot of the noid
The marker with eyes mod, cover plates, and the laser light show.
Two videos to follow. Before the eye mod and after. I still need to shoot the after mod video, and it will have a gravity feed portion to show the eyes work like they should.


 Reply With Quote


