
ok, here's a few questions, cause i'm using a intelli frame also, and plan on using the T board and the same noid. Just chopped my intelli up yesterday to make the room, now i gotta get the board and noid, and i'm ready to go.
a. Is the rof adjustable on the T board to 13.3, even with no eyes? (i'm not using eyes, gonna try to just use the level X, I will be psp ramping most of the time though, so hope the level 10 works ok with that)
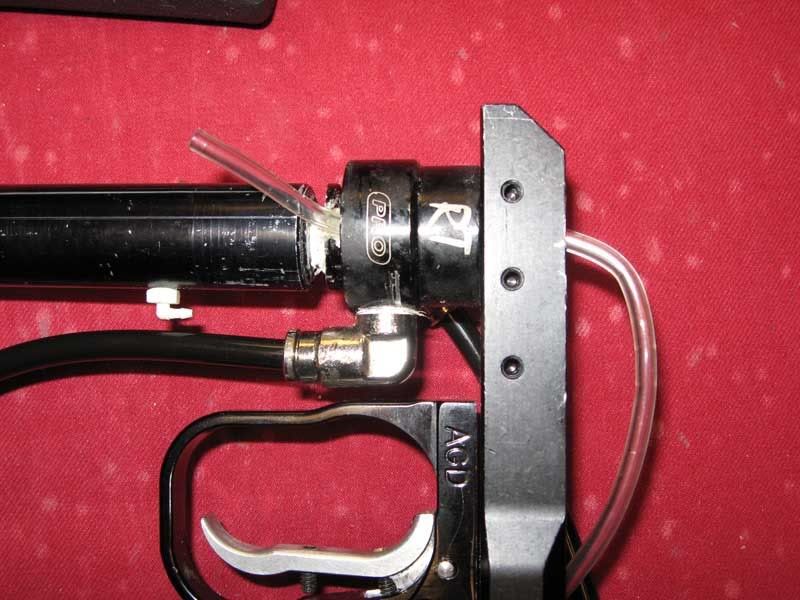
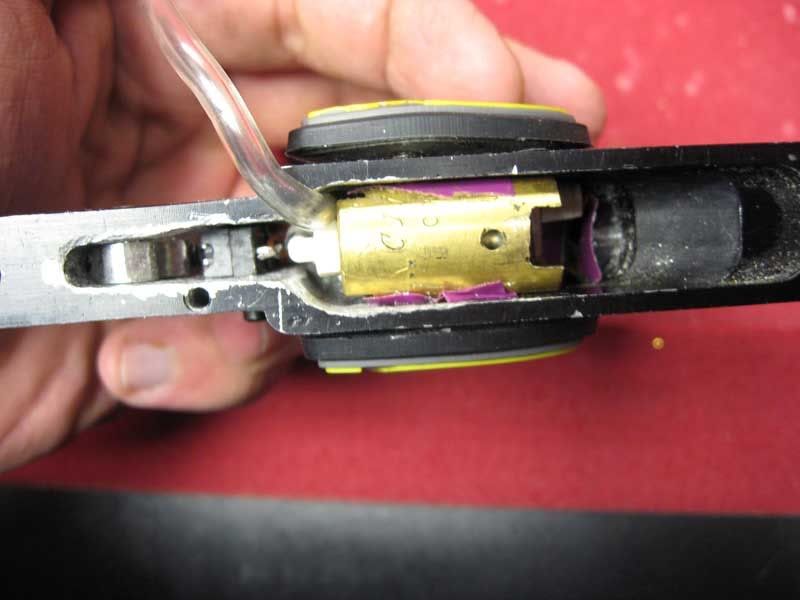
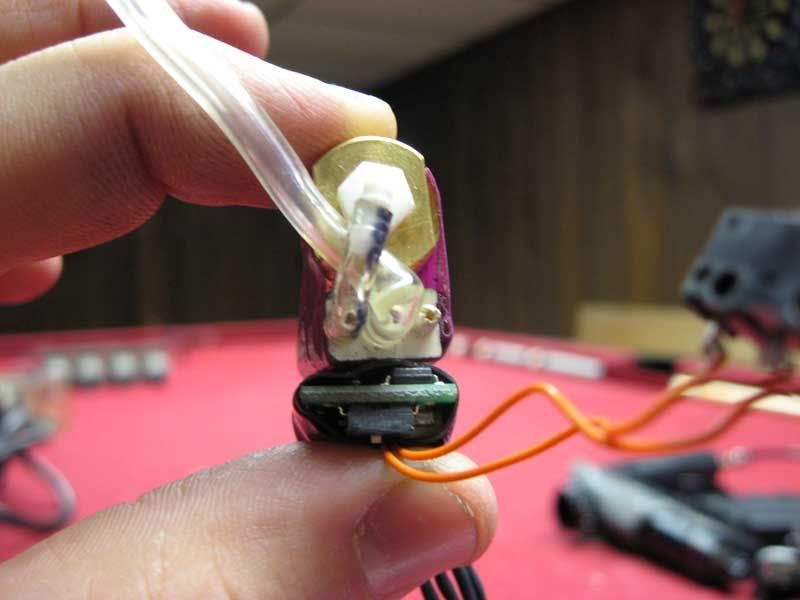
b. did you drill the hole for the trigger switch thru the trigger guard to get the angle like some of the other pneu guides show?
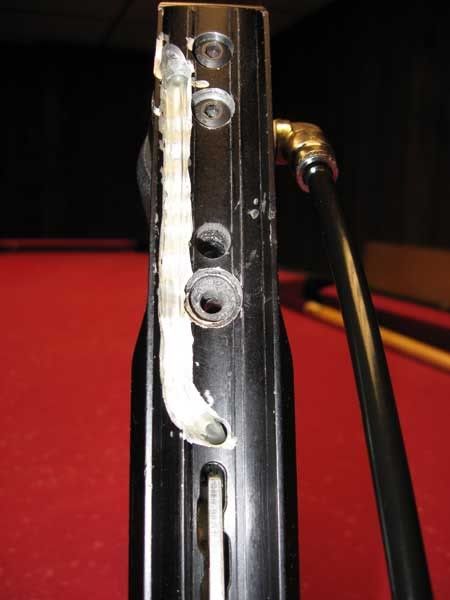
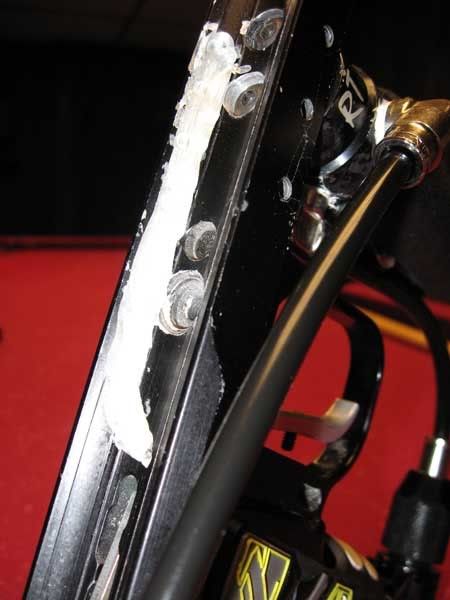
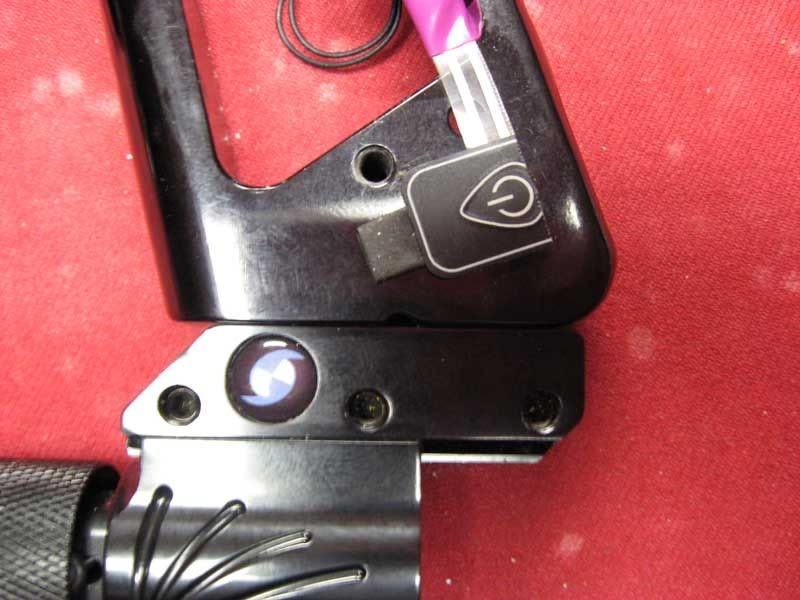
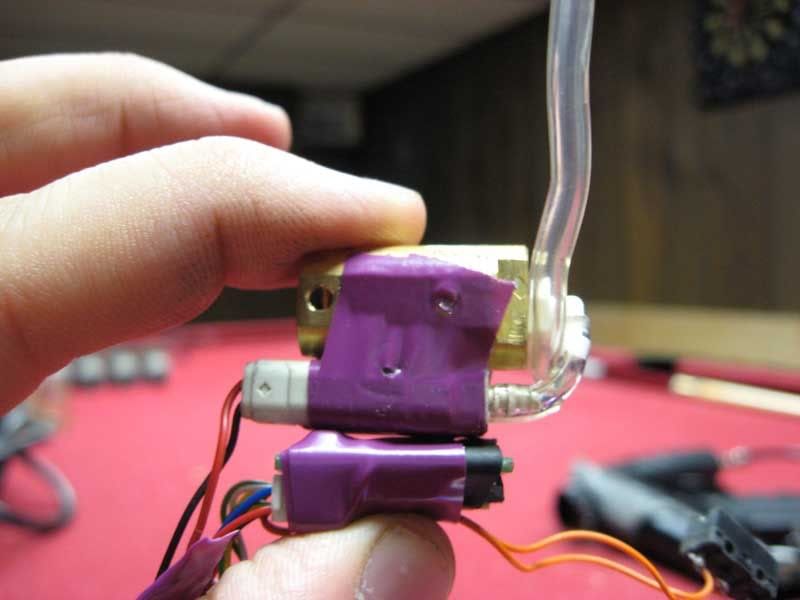
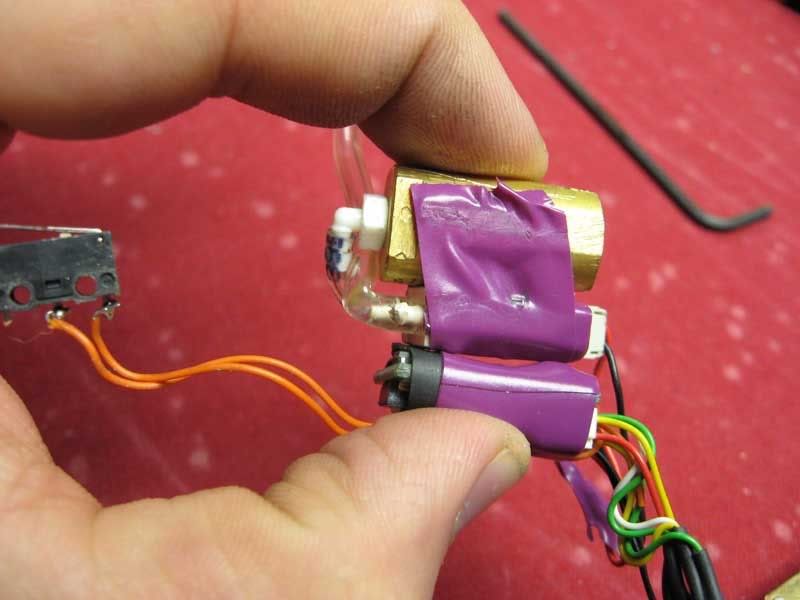
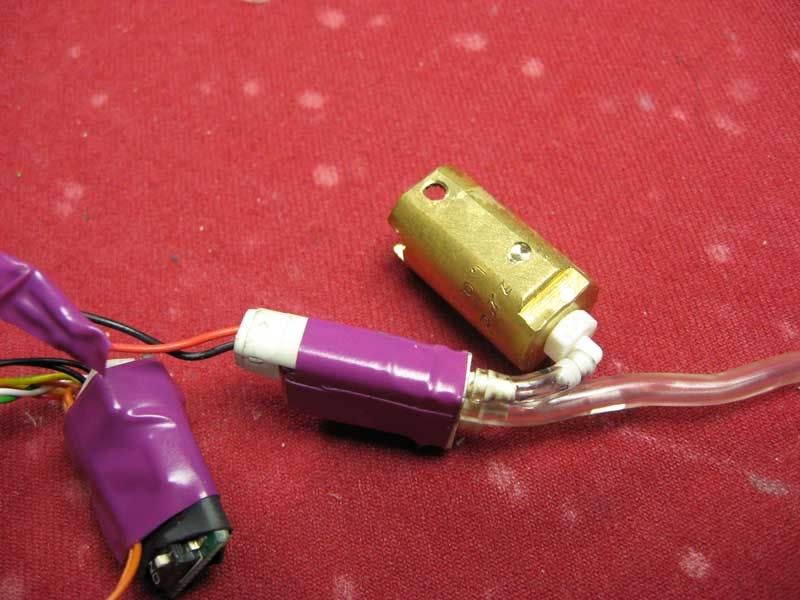
c. pull that tape off and lets have a looksy !!
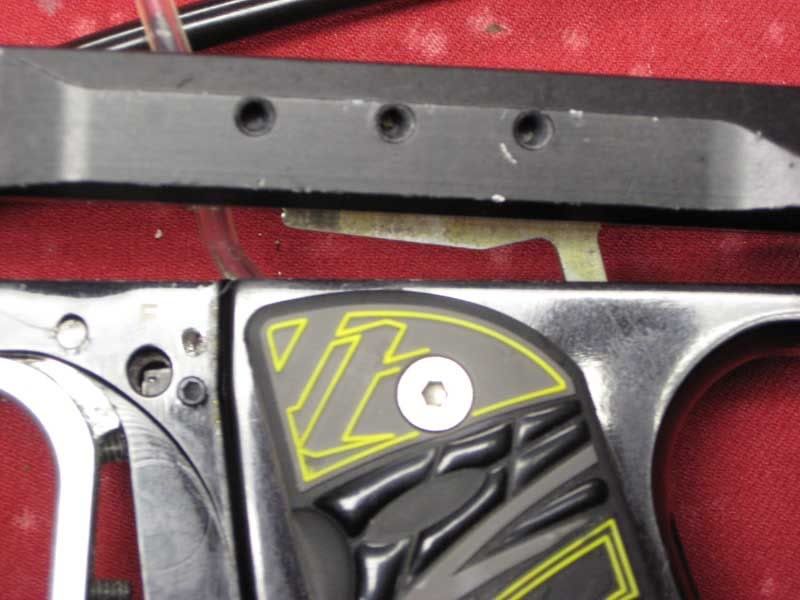
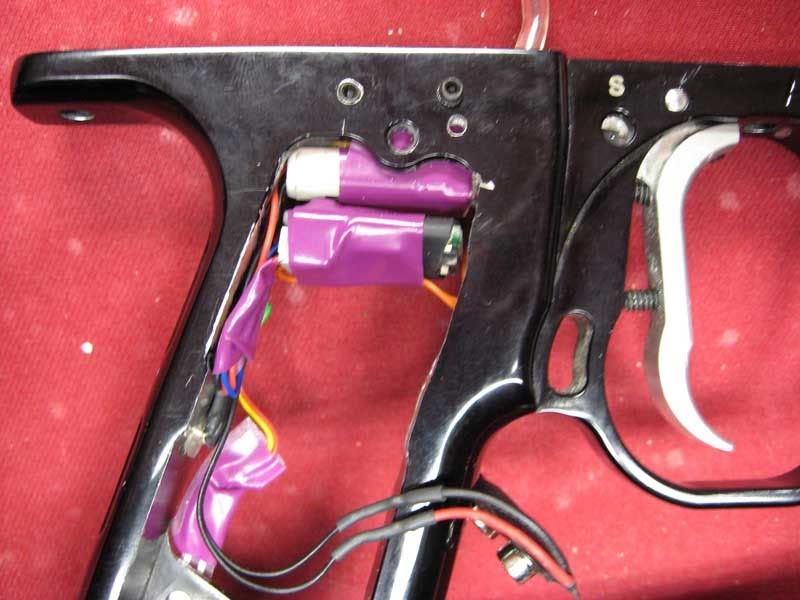
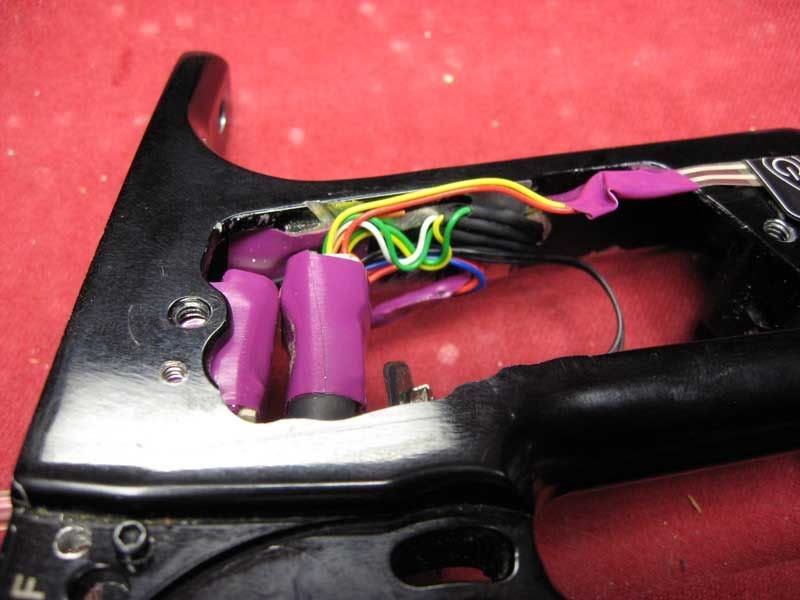
d. the on/off membrane is just pinned inbetween the grip and gripframe ?
I'm ready to get my project done. I played a tourney saturday and had to shoot my alias WITHOUT MY WARPFEED! My ep mag is gonna be a red ULE left warp body
OH, AND WHILE I'M AT IT....I was planning on mounting my lpr (ans jackhammer II atm) to the other side of my asa, and running the hose and the warpfeed wire up thru the bottom of the intilli frame . Does anyone see a problem where that would be a bad idea, or just wont work?
a. Is the rof adjustable on the T board to 13.3, even with no eyes? (i'm not using eyes, gonna try to just use the level X, I will be psp ramping most of the time though, so hope the level 10 works ok with that)
b. did you drill the hole for the trigger switch thru the trigger guard to get the angle like some of the other pneu guides show?
c. pull that tape off and lets have a looksy !!
d. the on/off membrane is just pinned inbetween the grip and gripframe ?
I'm ready to get my project done. I played a tourney saturday and had to shoot my alias WITHOUT MY WARPFEED!
My ep mag is gonna be a red ULE left warp body OH, AND WHILE I'M AT IT....I was planning on mounting my lpr (ans jackhammer II atm) to the other side of my asa, and running the hose and the warpfeed wire up thru the bottom of the intilli frame . Does anyone see a problem where that would be a bad idea, or just wont work?


 Kudos to you

Comment