
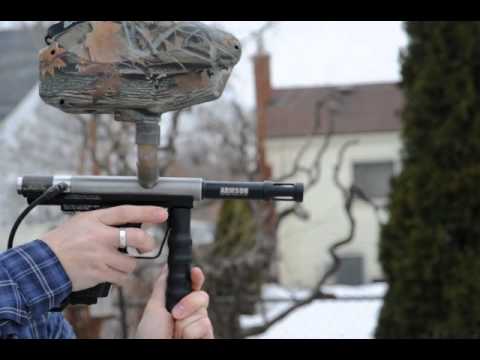
I am hoping to get this working right by Saturday. I think its an on/off pin length issue with the classic valve. I ordered and received a long pin from Tuna that I will have to tinker with. For now, here is a video of the frame working with my ReTro Valve. Not sure if this is an o-ring that needs to be broken in or maybe a level 10 problem? I just put in a new gold spring and I think the top o-ring on the on/off is new. The first shot in burst mode barely leaves the barrel. The first shot in a string on semi mode does the same.
burst
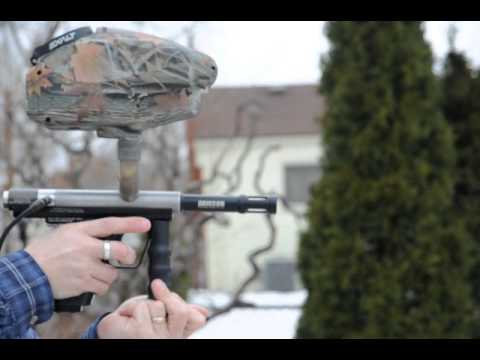
Semi
Any help would be appreciated. I'll post a video of the classic valve after I play with the on/off pin.
burst
Semi
Any help would be appreciated. I'll post a video of the classic valve after I play with the on/off pin.


Comment