AO: We are back from the dead... again! After an 18 day outage, we are finally alive and well. Who knew how complicated updating software/databases from 2008 would be. I still have alot of tweaks to make, but my main goal was getting everything patched and updated to 2026.
Vbulletin 6 has changed alot since 2008 so we will have a ton of new features to dig into.
lol thanks, although i've been slacking these past couple of weeks! i guess it's to be expected at the start of the season...been itching to play all winter. i need to test them out, right? yeah, that's the ticket...i'm busy "testing"!
Slacking as always...let's get caught up to speed. I'll start with a couple of projects that were finally wrapped up, my blue ULE and my third stock minimag:
Remaining work done in April:
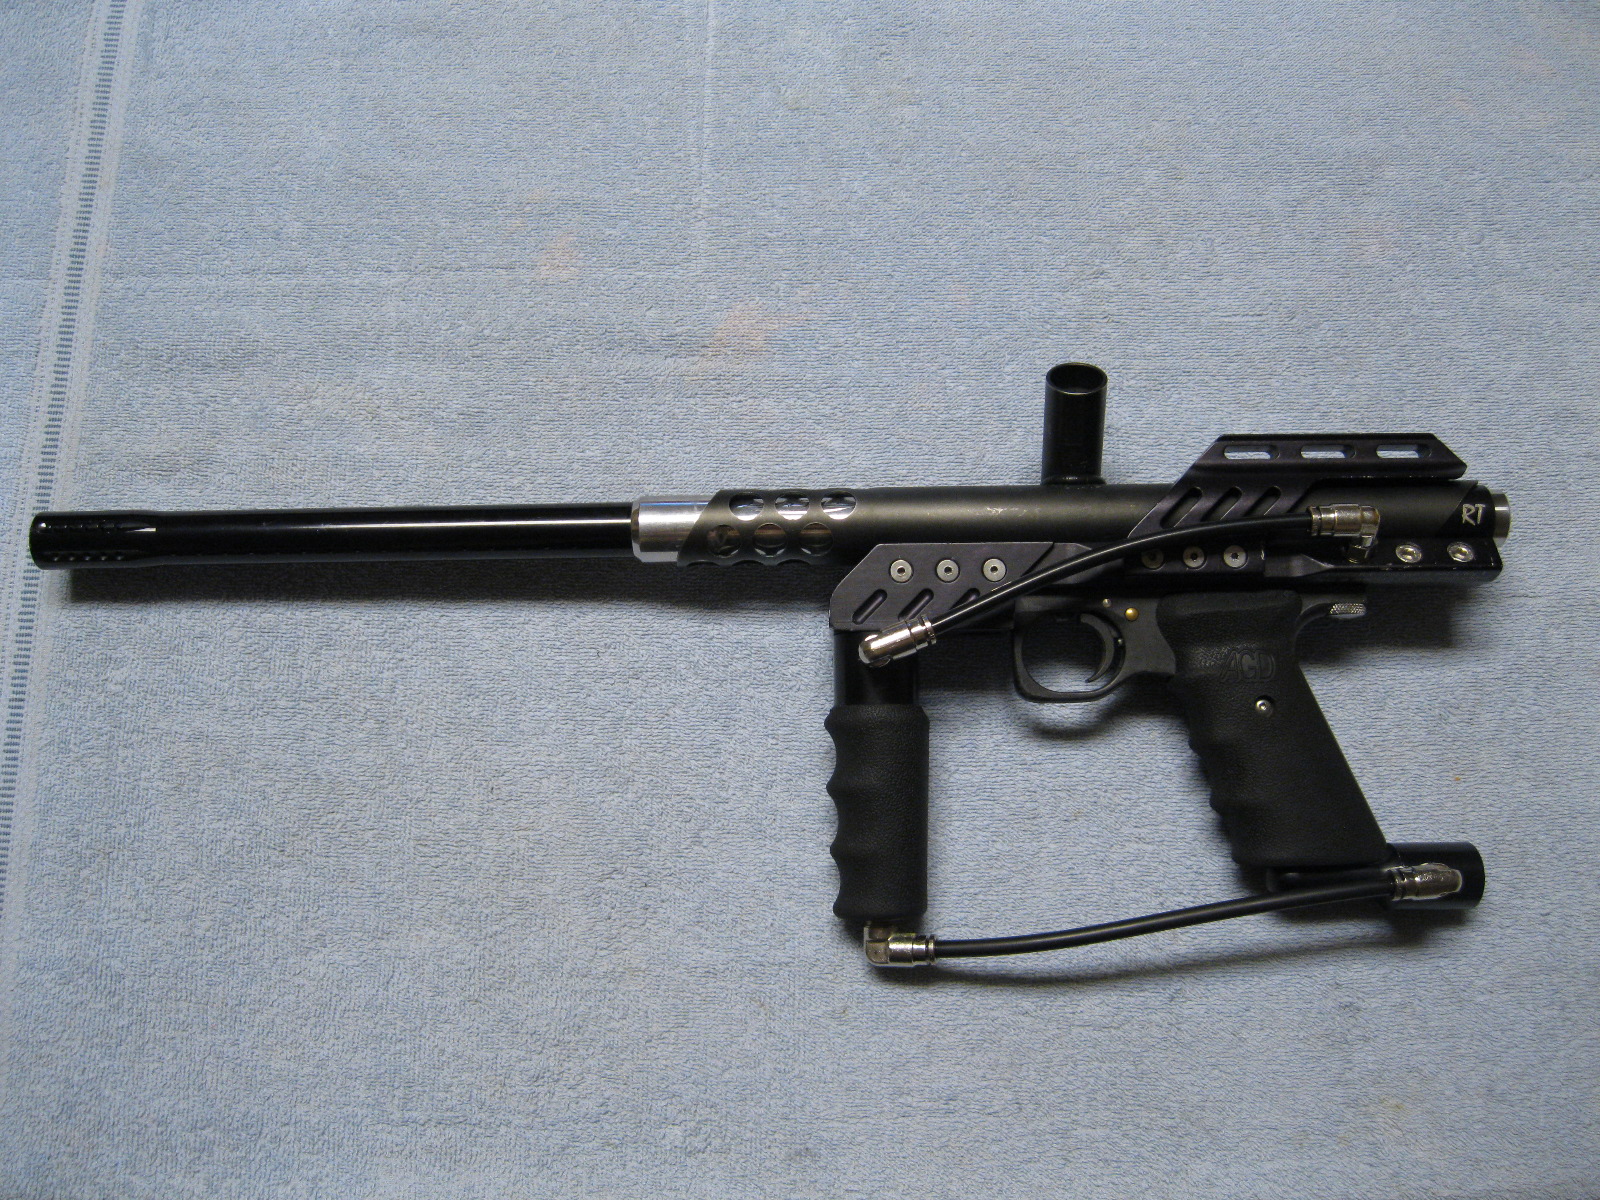
RT classic rebuild:
It just needs a new hard line, and maybe an on/off asa (depends on how much I want to spend on it). It was already tested...I actually lent it to someone whose gun was having issues at the field and it worked fine all day.
Work done in May / June:
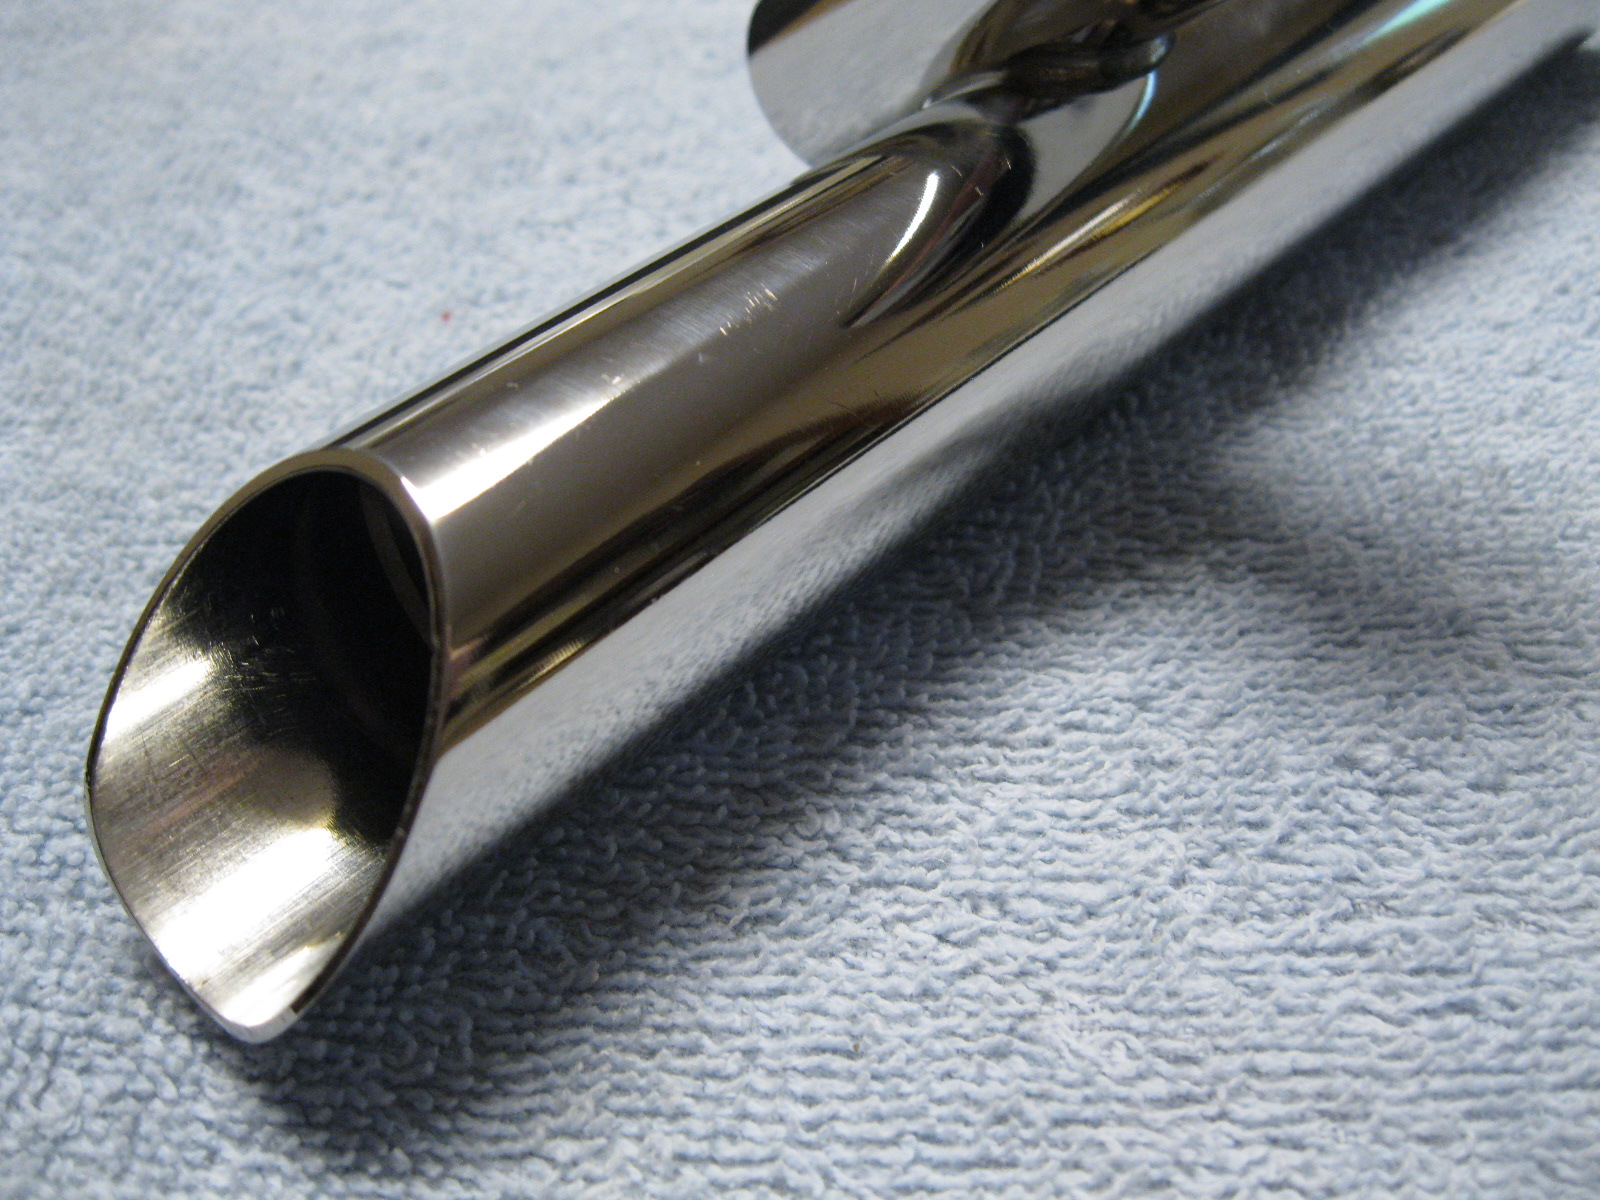
Polished up a stainless body:
Rebuilt Smart Parts Minimag and 68 Micromag valves:
The regulator bodies were marred by tourney locks, so I refinished them:
And here they are, all done!
The ANS adjustment nut on the Smart Parts valve was replaced with a stock AGD adjustment nut.
And since I was in a refinishing mood, I thought I may as well knock two others out:
The one on the left is a minimag valve from my minimag, and the one on the right is a 68 Automag valve from an eclipse splash 'mag. The minimag valve was already good to go, but the automag valve needed to be detailed so...I may as well just do that too:
I do believe that is an ANS on/off top, in case you were wondering.
Moving on, I got some Smart Parts wood grips that have seen better days, so I decided to dork with them:
Above, the raw sanded grip is on the left, while the right was wet-sanded with 320 and then 400 grit sandpapers and finished by buffing it with Turtle Wax rubbing compound. Below, the right grip was finished and buffed using Turtle Wax...wax.
You can see the wax has a white finish, while the rubbing compound has a more red finish to it. Sanding and polishing them really brought them back to life! I still want to try just polishing the raw material (they are made of a laminate called dymondwood). I have no shortage of wood grips to refinish!
I also cleaned up the fittings (it was heavy on the teflon tape / white rtv silicone) and shortened the hose that went from the VASA to the valve. Finally I swapped the level 7 bolt for a level 10. I don't have any pictures of this completed though.
Moving on, I have a gen 4 micromag body in need of some tweaking. Apparently, it was dropped on the rear "wing" that goes over the valve, and was bent down. It made removing the valve a real pain, and installing impossible without beating the valve into the body:
This isn't the greatest pic, but the wing is about level...you can see the front of the body angled down by several degrees. I got a large socket, I think 1 1/16", put it in the body at an angle, and smacked it with a mallet to try to bent the wing back up.
You can see it's still slightly bent down, but it's good enough that the valve will now slide freely into and out of the body, like it should. I didn't want to over-work it and risk doing more damage than was already done, so I left well enough alone. Here is the finished gun:
I took this, and my friends centerfire, with me to Hell Survivors for Global Conquest, and they worked great all day.
Work done in July so far:
Not too much going on; some barrel polishing:
ReTro valve rebuild:
The o-rings were all in decent shape, it just needed some swapped around. You'll notice the white teflon o-ring on the on/off top, and a reg pin assembly o-ring where a reg seat o-ring should go. The carrier was also too large for the installed o-ring. Took care of those, and the valve ran great.


Comment