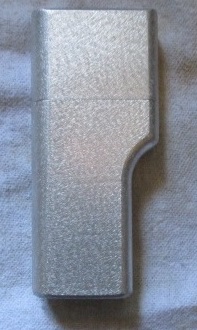
Any update on if you got a working prototype.
-
The user formally known as Lancecst. -
Were getting close, been working on it everyday.
Comment
-
I like the sound of that.The user formally known as Lancecst.Comment
-
Going to save my pennies now....Comment
-
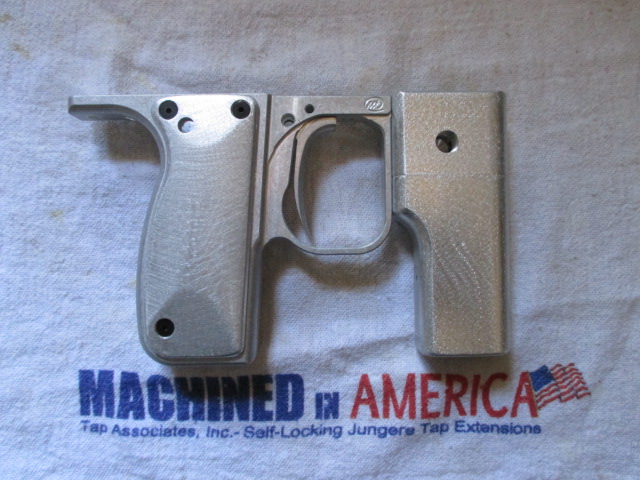
Small update.
Lots to do, starting with the easy stuff.
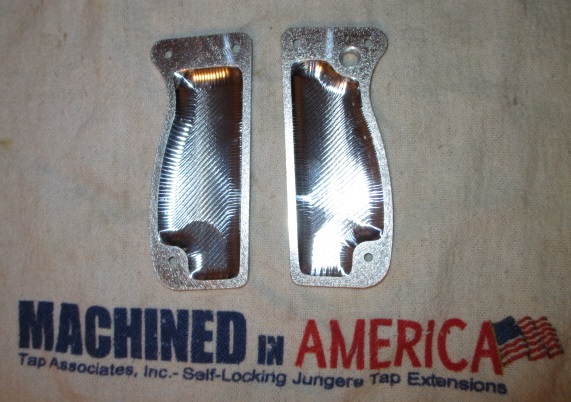
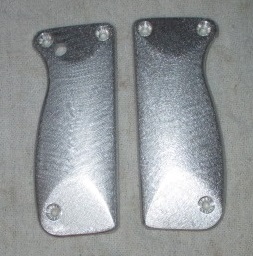
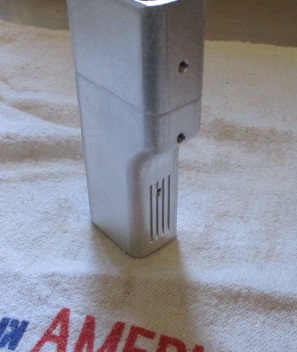
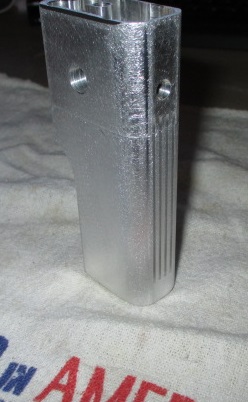
3D ULE milled grips, different from the originals but still 1 ounce each.
3D ULE milling the back is for maximum material removal, the back cavity is the same shape as the front.
Comment
-
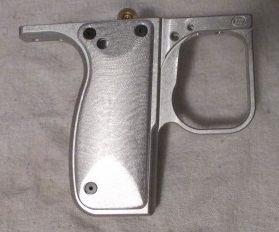
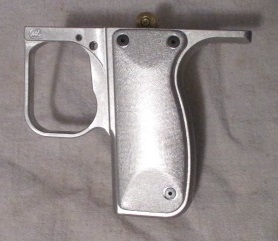
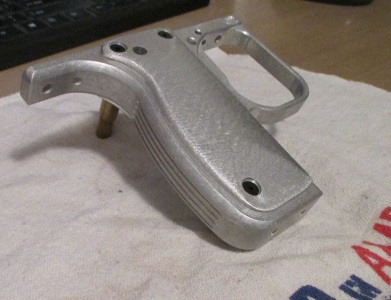
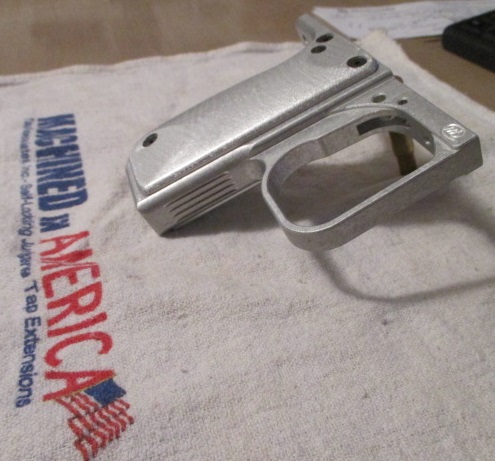
Machined the LPR this morning.
This design is similar to the one I already offer with some small changes.
The top is a smidgen wider.
The radius along the rear edge is smaller.
Includes the detail milling to match the other parts.
ULE milling. I was able to shave 1 ounce off the final design.
Comment
-
-
Four ule drilled holes on the internals (two on each part) and the top was ule milled.Last edited by luke; 01-27-2016, 04:54 PM.Comment
-
-
You know, I was perfectly happy with an SFL and a Micromag. Then Luke had to go and produce a body that looks like a 1911, my favorite pistol of all time. So I guess I may have to figure out how to build a pneumag. At least it seems I have a little time so I can figure out why the Micro is leaking like a sieve before I dive into the deep end, again.That which does not kill us, cripples us for life.Comment
-
Comment
-
Comment


Comment