
One thing I think I noticed, it looks like the trigger pin on the sear is adjusted kinda tight. Shouldn't there ba slight gap in there Athomas ? Might not solve the leak issue, but to me that seems like a spring problem almost like it isn't allowing the bolt to rest, or very tight on/off pin orings. Try taking the pin out, if u have to pull it with pliers other than say some tweezers, in other words it seems really tight, put a little oil around the top of the pin and reinstall it. I had a similar issue recently and I added gold cup to the fitting directly on the valve and it didn't make a difference, but once I pulled the pin and added a light coat of oil around the top of it and assembled everything it went to shooting very smoothly. Only thing I could come up with is the tolerance was so tight it didn't allow the oil to pass around the pin. It's a long shot but worth a try
-
i'm with athomas and fish; the bolt and possibly sear look pretty beat up. is that a chip on the top of the sear? and the sear rod length looks too long; there should be a small gap between the back of the trigger and the rod when the marker is gassed up. do you have a pair of calipers to measure the length?
just curious, but what is the tank regulator's output pressure, do you know?Comment
-
That sear looks worn from what I can see looking at the pictures through my mobile.Comment
-
If you don't want to mess with it and get running right send it to Tuna.Comment
-
the on/off pin isn't that hard to get out, when i took the pictures, it stayed in the oring, but this time it stayed in the on/off assembly... i gave it a couple drops of oil anyway...
oh! it seems we found a problem!
it does seem like the sear is chippped!
that does explain the bolt damage noticed before... also(this is a big guess from a guy who doesn't know anything) wouldn't it do the same thing as using a bigger spacer for the powertube? as the bolt is allowed to be a bit more forward because of the missing part and the damage to it? therefore, explaining the smaller powertube spacer need ^_^
now i'm curious as to how much of the bolt was damaged from that sear.... anyone got a picture of the place where the sear touches on a normal bolt?
you can see that the damage did a bevel to the side of it:
now i'm totally curious... and kinda bummed that i do have to get 150$ worth of stuff to repair my 250$ gun....... oh well.... it won't chop and if it's as awesome as when i dry fire it on it's good day, it'll be awesome.... just need to stop eating for a while :PComment
-
The sear is definitely chipped so you need to replace both the sear and bolt. The sear looks like one of the old carbide tipped ones. They were hard to prevent wear, but brittle. Check the on-off length to make sure it is not too short which might have contributed to the chipping. The length of the on-off should be 0.750"
If you get a bolt, you might as well get a level 10. They aren't hard to install and tune. Change powertube tip and install the largest carrier that does not produce a leak using the same white carrier oring in each carrier you try. Use the short gold bolt spring and don't install any shims. Thats it. Most problems come from people overtweaking the setup. You will probably want tweak it as well by installing a stiffer spring once you get everything working well.
Make sure you have an air tank that puts out at least 850psi and has a high flow rate. A good high flow tank regulator makes any mag work much better.
Adjust your sear rod so that there is a tiny gap between the front of the rod and the back of the trigger when you hold the trigger against the safety with the gun aired up.Except for the Automag in front, its usually the man behind the equipment that counts.Comment
-
Every one keeps talking about these super high input pressures. If I don't want to "RT" the gun into full auto, what is the issue with running 700 or 800 into it with say a Ninja Pro reg? What about if I am running ULT?
I don't know if the level 10 has changed things, but I used to run 650-700 into my classic RT 10 years ago and never had shoot down. Just wondering if the trend to put so much air into the gun is to get the RT effect, or if the LVL 10 needs that much air.
The valve was designed for 675 or so, and if you can shoot it fast without the full auto effect, why put so much air into the gun? ThanksComment
-
But why? Is it because of the LVL 10? We never had to run these super high pressures into the guns before and the manual on the RT specifically says 675-775 doesn't it?
They use to never let you run high pressures into these guns and if they caught you at tourney's, you would be penalized.
Here is the more up to date language from the Tac-One Manual:
COMPRESSED AIR ONLY
Your RT-ULE is designed to run on compressed air only! It will not
function at all on CO2 no matter what hoses, expansion chambers,
etc., you use. We recommend that you purchase a high quality 3000
psi compressed air tank and regulator for your RT-ULE. The
maximum input pressure to the paintball marker should be above 700
psi and less than 1000 psi for best performance. Pressures over
1000 psi will damage the regulator and reduce performance.
RT Manual:
Your AUTOMAG RT is designed to run on compressed air only! It
will not function at all on CO2 no matter what hoses, expansion
chambers, etc. you use. We recommend that you purchase a highquality
3000 psi compressed air tank and regulator for your
AUTOMAG RT. The maximum input pressure to the paintball marker
should be above 600 psi and less than 1000 psi for best performance.
Pressures over 1000 psi will damage the regulator and
reduce performance.
X-Mag:
We recommend that you purchase a high-quality compressed air tank and regulator for your X-mag. Working input pressure to the paintball marker is 600 psi to 1000 psi for best performance. Pressures over 1000 psi will damage the regulator and reduce performance.Last edited by gretch6364; 05-09-2014, 11:36 AM.Comment
-
RT Ule manual says above 700 psi but I think it's been some times bit too low so 800 Psi is the agreed safe bet.Comment
-
I've had a RT since before 2000. It has never functioned properly and reliably below 800PSI. My wife's RTP is fed by a 850 psi crossfire. Works great. And my old faithful classic rt is fed by 950 psi shp V2. Works great. As far as hurting the reg above 1000. I do believe it would take a lot more than 1000 to hurt it. But may be more susceptible to problems above that pressure. Idk. I used 1100psi for years without issue with a nitroduck mega reg.
Also my classic valves never really liked running below 800psi. They would cycle down to 550-600. But below 800 would be real touchy on not having hiccups.Comment
-
Yeah, my old RT from 1998 loved it at 680-700. Guess I will try this new X-Valve I got at 800 tomorrow and if it is no go, will have to buy the SHP reg.Comment
-
depends on what you want. if should work just fine with a standard high pressure output tank regulator (which is about 850 psi). you can get a tank with a ninja regulator, and just toss an extra red shim in for higher output pressure (950 or so) if you want a stronger rt effect. the shp is only if you want like 20 bps rt. seems wasteful, if not totally overkill to me.Comment
-
Yeah, I already have the Ninja Pro reg, which says it goes to 800 with 3 shims. I am gonna put them all in there and see how it goes. I have never had an X-Valve gun, just an RT, Classic and Micromag RT. Hopefully the level 10 works. Bought the gun off PBNation, but pics of it were also posted here. He gave me the extra level 10 parts with a red and silver spring extra (gold in gun) and the following extra carriers - no line, line, and line with 1 dot. So I am guessing the line with 2 dots is in the gun. Will this be largest of the 4? So that as it wears in I can go smaller if need be?
Again, have not played for 10 years and never had a level 10. Gonna get it up and running (hopefully) with the level 10 and RT valve on/off like it came, and then try to tune the ULT on/off that I bought. Here is the pic from the thread one of the owners posted here:
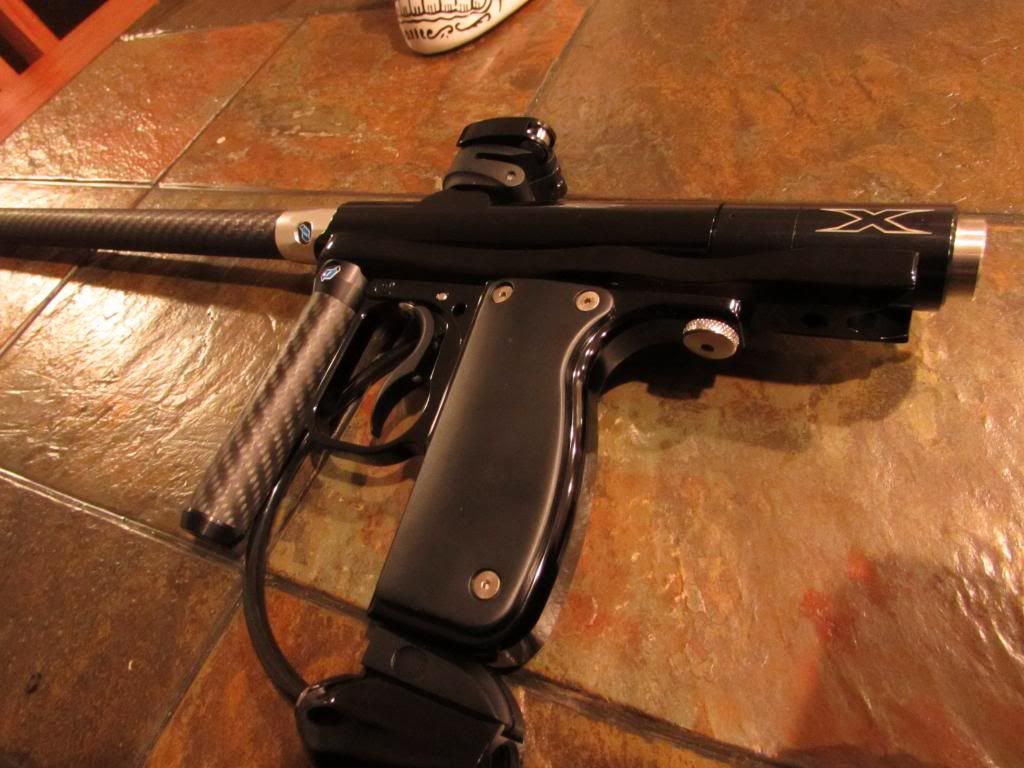
Comment
-
all my rt classics will give a 2 or 3 round burst on 850 but that is all. with a 1200 psi it rt's like mad and is hard to control. i'm going to have to get a regulator that is somewhere inbetween the 2.Comment


Comment