Kwik175's Stormwalk Project

Collapse
X
Collapse
  •  

  • Kwik175's Stormwalk Project

    Well it's been a while since I've had the desire to build another project. I stumbled up Need4Reebs sale thread where he had the Stormwalk frame and Phoenix body. I always considered the frame kind of cool, but yet it looked heavy and cumbersome. Something about it caught my eye but I just wasn't pleased with how it looked. I decided I wanted to clean it up a little and looked into getting some machine work done. Heres a pic of how it was when I received, bone stock:


    I only wanted to remove the extra metal near the trigger and front LPR housing area. I also considered a new set of front panels to cover the extra air input hole.


    I asked around with the airsmiths online and everyone was pretty tied up with other projects so I looked locally to me for a gunsmith. I found a guy not 20 minutes from me that agreed to cut out the piece for me. He used a manual mill to get as much as he could then he resorted to a hand file. He beveled the edges like the original was and tied it together nicely. It was just a small piece to remove but to me it cleaned up the look just right. With the piece left in there it just looked like a bridge support to me. I really like how it looks opened up. I haven't gotten new panels yet as it seems they are quite a bit of work to produce a one off pair. The local gunsmith was also busy but he had the part back to me in 10 days. Heres a pic:


    And of course as it goes, while waiting for the frame to be done I started looking at the body and thought about having it milled also. I wanted the windows in the back over the top of the valve cut larger to expose more of the valve. Heres a pic to show what I wanted:


    I sent the pics to CS900 from PBN. He agreed to cut the windows larger and I sent him the body. Within 3 days he got back to me with a CAD drawing for approval. Once I approved he made the cuts and shipped back to me. All this took only one week. Quite impressive turnaround time with great communication and quality work. More pics:


    So here's how it sits now. It still needs to be sent out for some sort of finishing. I am contemplating several different ideas. I want something out of the ordinary to compliment the milling work that was done.


    Well its time for an update as I have made some progress. I found the barrel I wanted to use , which completed the list of parts that needed to be sent out for finishing. I thought long and hard about what I wanted and I decided to give powder coating a shot. I found a guy in Maine that has 30+ years experience and I felt more than comfortable with his ability and he has a great selection of colors. Heres a few samples of the color I am going with:


    And heres a video that he posted on Facebook for me to see before he coated my parts.


    I will have pics in the next day or so of the completed parts.

    The powder coating guy is also very aware of the tolerances on paintball guns and he took a lot of time talking with me to make sure he masked the proper areas. Heres some pics of the body after he masked it off.


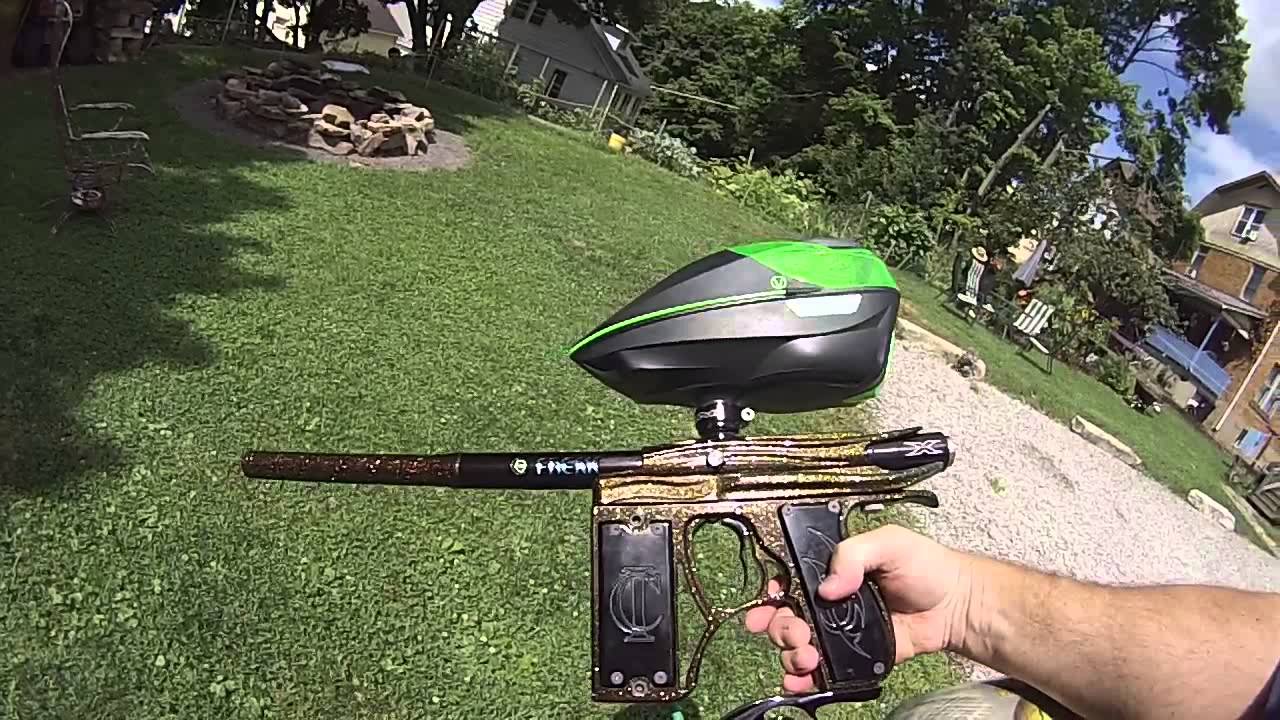
    Well I got the parts back today and did some final assembly. Well sort of. I haven't yet decided if I'm leaving it as a mech or putting the pneumatics in it. I also have not picked up the new asa I ordered from my local shop. Heres a few pics and a video is being uploaded right now. Its really hard to capture the amount of color change with a pic but the video looks better.


    And heres the video:


    • kwik175
      #40
      kwik175 commented
      Editing a comment
      I made it to the store last night and picked up the new asa I had wanted to use and got it all put together. Im waiting on some lpr hose to come in so I can try out the pneumatic set up. I did get a better camera to take some video of it out in the sunlight today. Here it is:


      Thanks again for all the kind words and everybody that helped on this project.

    • ninja3454
      #41
      ninja3454 commented
      Editing a comment
      Absolutely beautiful.

    • Flatliner333
      #42
      Flatliner333 commented
      Editing a comment
      Metal Flake is cool, it has an Indian Larry feel to it.
    Posting comments is disabled.

article_tags

Collapse

Latest Articles

Collapse

  • My Minimag is almost complete!
    by tysonmachado
    Here's my baby. All I want to add is level 10, maybe a better tank. I'll start with the specs, then on to the pics:

    -black Minimag body pf/hr with reversed Minimag valve
    -black
    04-23-2017, 01:58 PM
  • MiniMag Carbon X Edition
    by Mole1119
    Here She Is
    My goal was to build a mag that looks like it could have come straight from AGD


    Thanks to everyone who took the time to design and build these parts.


    ...
    04-09-2015, 08:16 AM
  • Aurora Karta E-mag
    by Bunny
    Anyone ever see an Aurora Karta? This Karta was plated by CutStep and Oddpb.com in 2008. ...
    01-10-2015, 10:47 AM
  • William Shatner Xmag Project
    by Bunny
    AO: While putting together xmagworld.com again, I did a lot of research about the infamous Shatner Xmags. It was pretty fun tracking down 3 William Shatner Xmags, but after all my research I realized
    06-03-2014, 07:46 AM
  • mag fsr sniper rifle
    by Syko89
    I bought this of the AO forums with the intention of doing a box mag type feed. http://www.automags.org/forums/showt...ject&p=2833484 but already having a emag and building a double barrel mag I have enough in the way of rate of fire so decided to do a mag fed marker and then thought why no a fs platform. I sent the ULE body to Xmag Terror after talking to him about it to get the feed port milled out and a new feedneck built to run the fs rounds. got it back very q...
    06-03-2014, 07:45 AM
  • Sk8ermog Project #2 - Gas Through M86 Trigger Frame
    by Sk8ermog
    So this was a project I have been wanting to do for awhile and I actually almost finished this within a week.
    Here is my original idea pics:


    I originally wanted Macro fittings on the outside and inside, but there wasn't enough room. I ended up going with micro line and I had to do some internal milling to make sure the sear didn't hit the air line. I milled the hole on the right side of the frame, but because of the internal...
    06-03-2014, 07:25 AM
Working...