
 due to a lack of files/prints I had to reverse engineer the entire body file from the slug once I got it in my hands. Not particularly time consuming, just tedious and in the way as free time is a luxury. In the meantime I still knew the body was going to be cocker threaded so I went ahead and got the barrel threads put in before I even knew what the marker would look like.
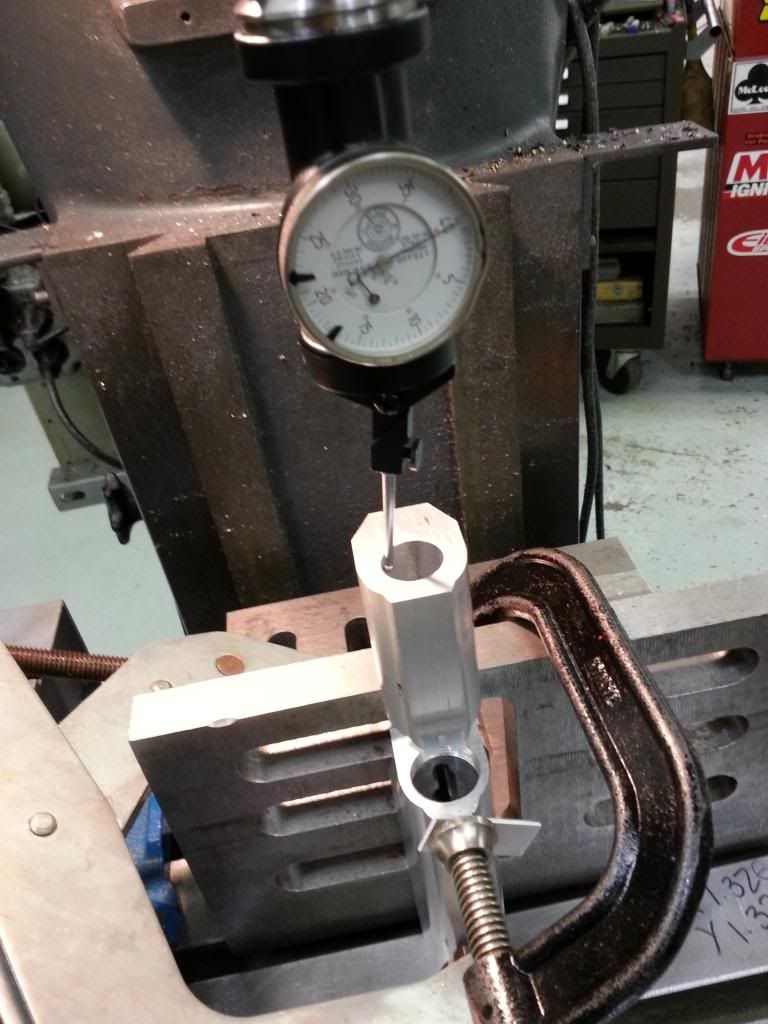
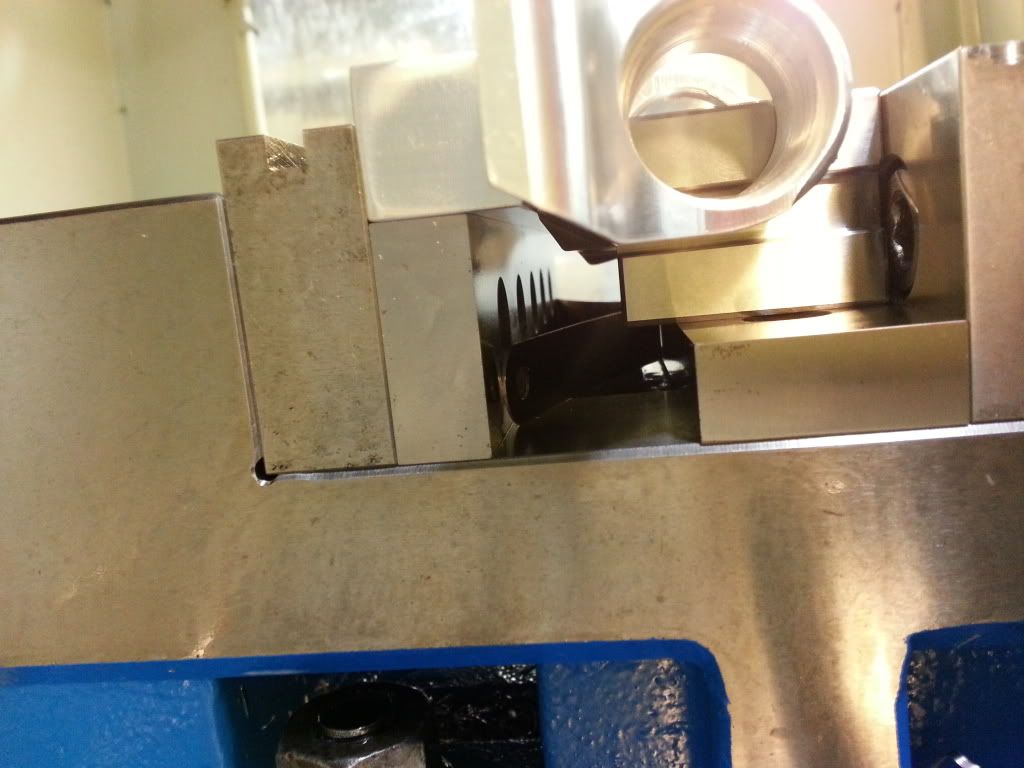
 the body is resting with its rear most face against the mill table and the knee (part that the body is clamped to) has been indicated (zero'd) so that I know it is perpendicular to the table. All that is left to do is pick up the center of the existing bore so I know the threads will be perfectly inline with the firing axis of the marker body. To pick up a center I use a coaxial indicator seen below, I had the center point picked up to within .0005" (half thou) in x and y which is basically one resolution increment of the dial. To put a half thou into perspective, typical office paper is around .003" thick(three thousandths)
 This is the bore size the slug bodies have originally (5/8" IIRC)
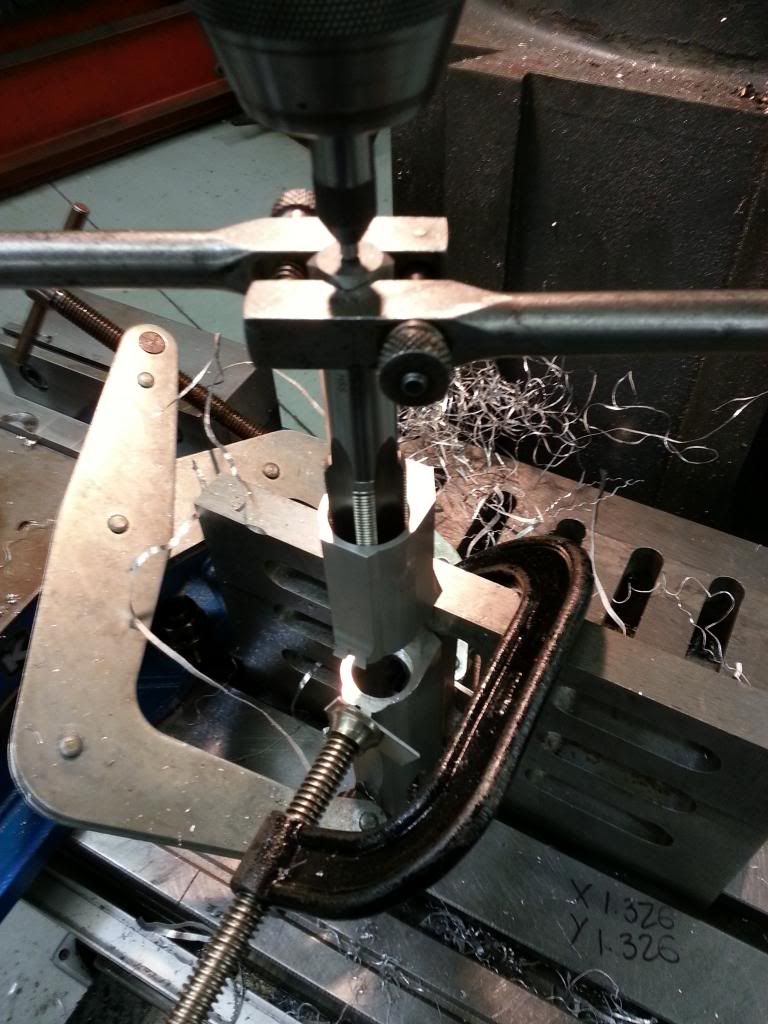
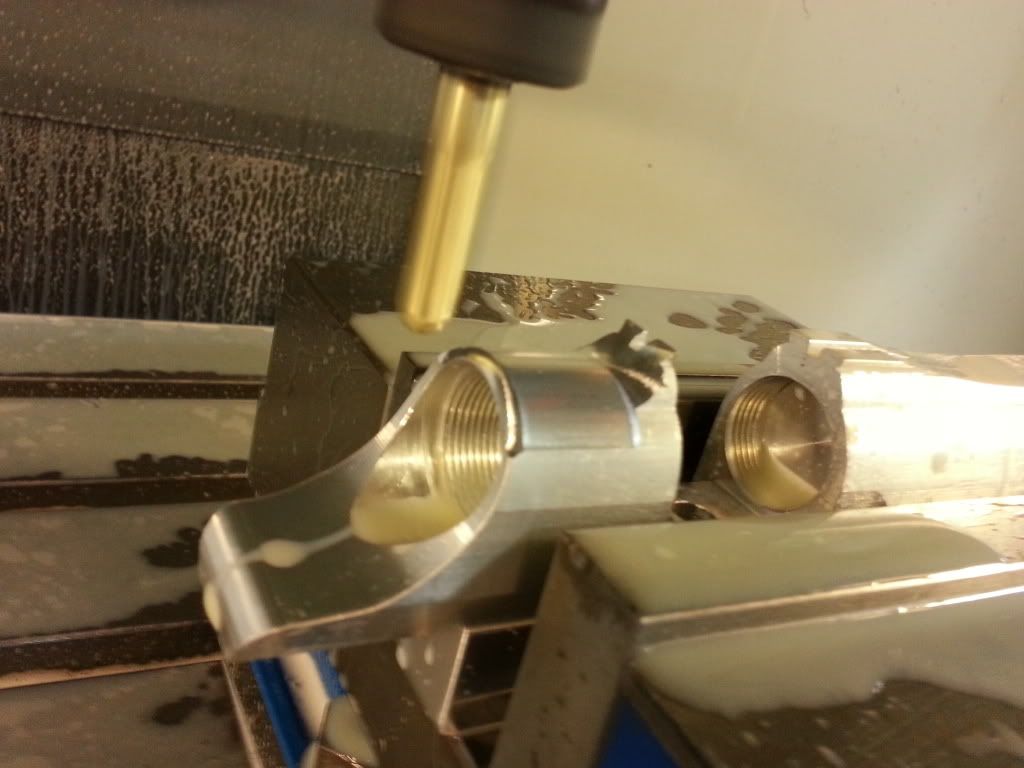
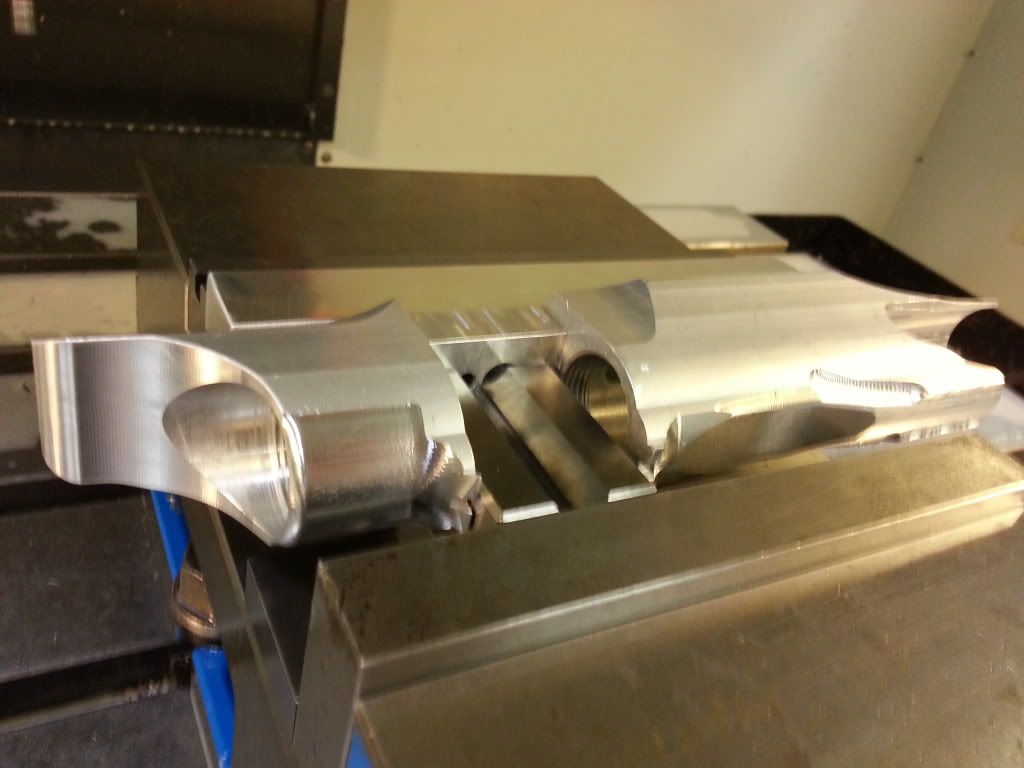
 The tapping process; note this is after a few different drills have already had their way with the slug at specific depths to create appropriate clearance and tap diameters for the barrel
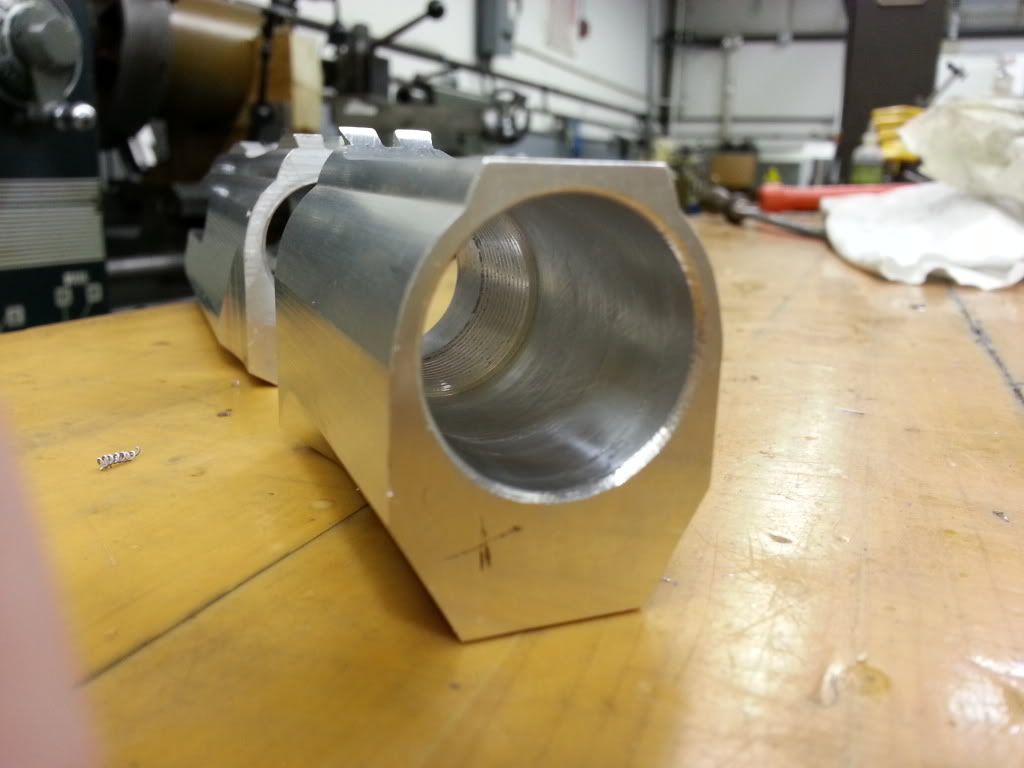
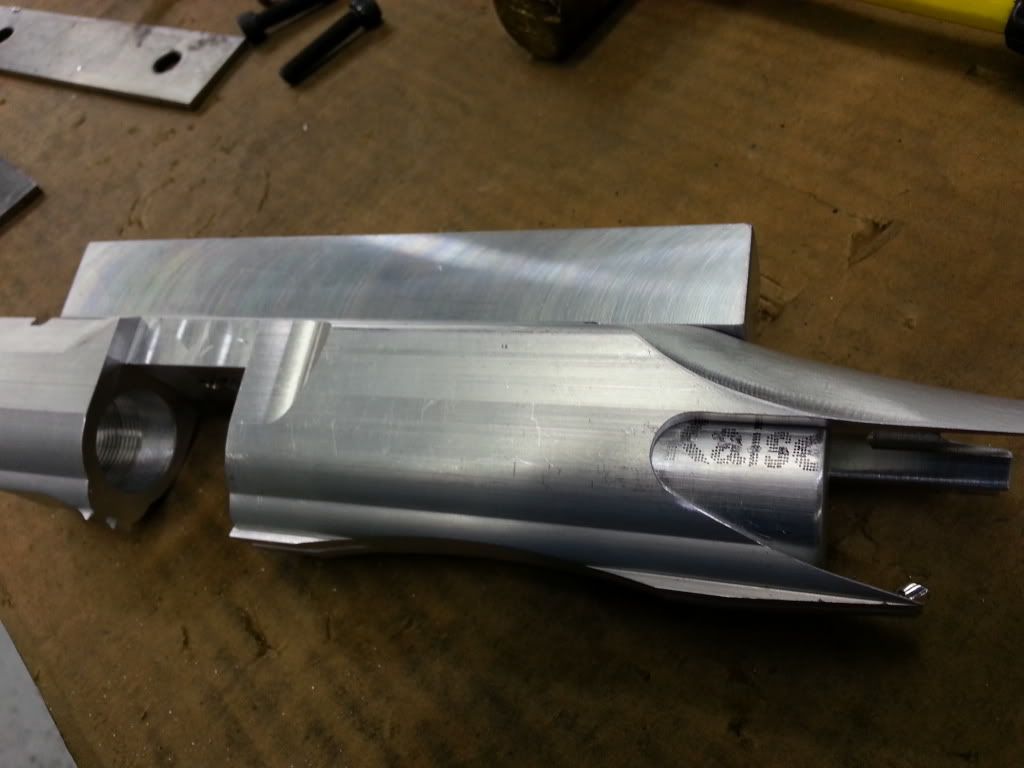
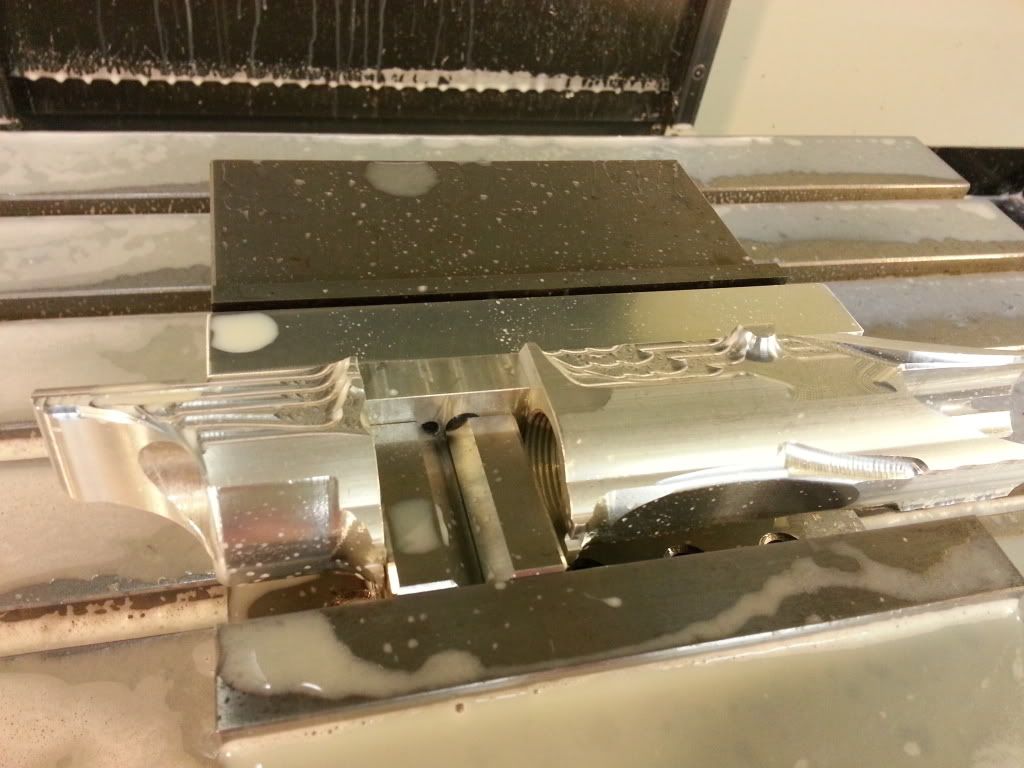
 and viola, we have a cocker threaded slug body
 Once I got the cocker threads put in, there was really nothing I could do until I finished the model.
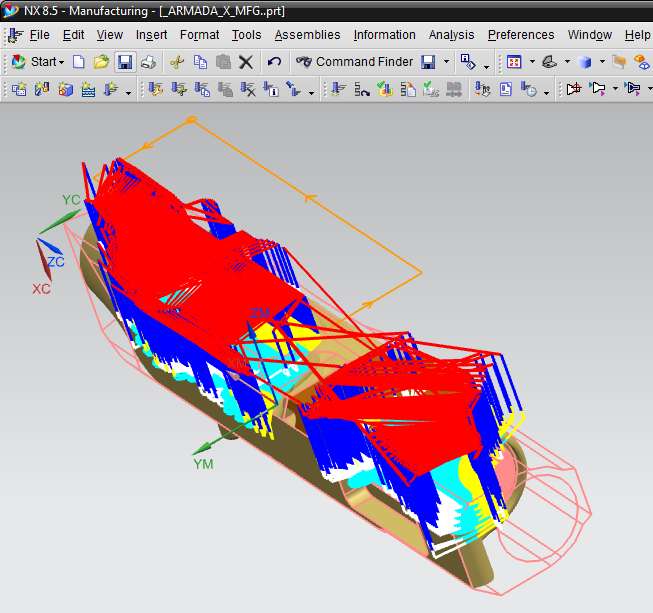
fast forward a month or so and I have the body completely modeled and Bunny approved.
here is a glimpse of one of the tool paths I used to finish machine the right side of the marker
Once I got the cocker threads put in, there was really nothing I could do until I finished the model.
fast forward a month or so and I have the body completely modeled and Bunny approved.
here is a glimpse of one of the tool paths I used to finish machine the right side of the marker
 since we do not have 5th axis capability at my shop I simply worked on the body in multiple operations (not ideal but it gets the job done for simple 1 off parts, cosmetic milling esspecially)
the first cnc operation I performed was to remove the bulk of the material from the barrel bore and generate the front profile curve, the setup is pictured below
since we do not have 5th axis capability at my shop I simply worked on the body in multiple operations (not ideal but it gets the job done for simple 1 off parts, cosmetic milling esspecially)
the first cnc operation I performed was to remove the bulk of the material from the barrel bore and generate the front profile curve, the setup is pictured below
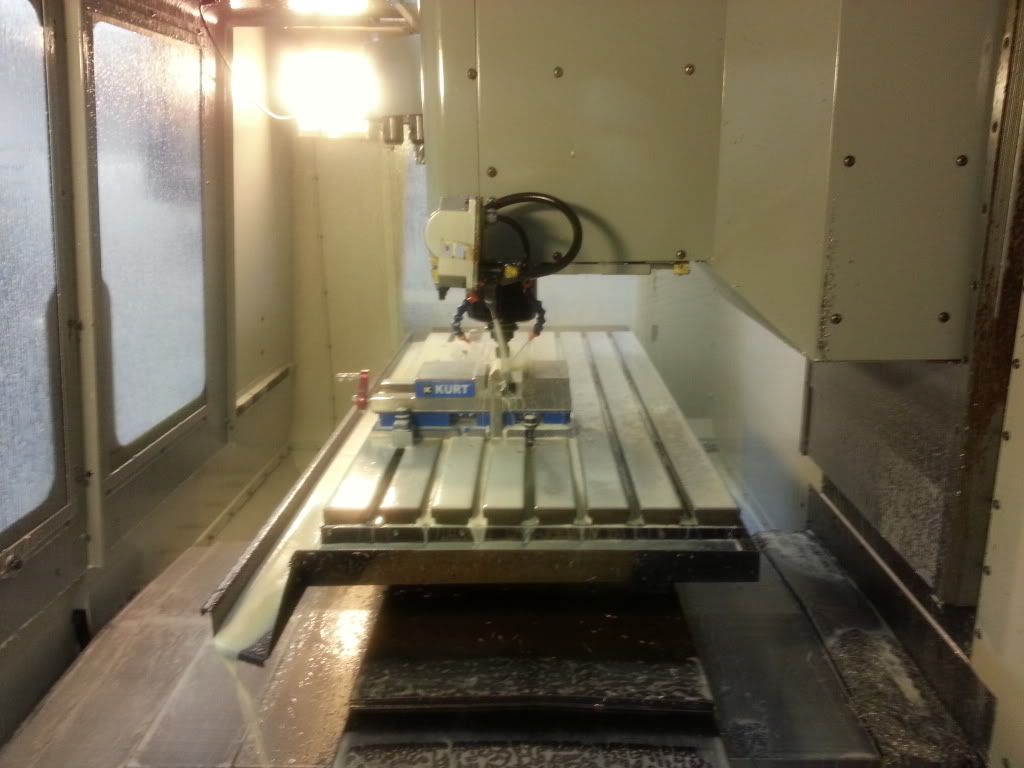
 mill is coming in
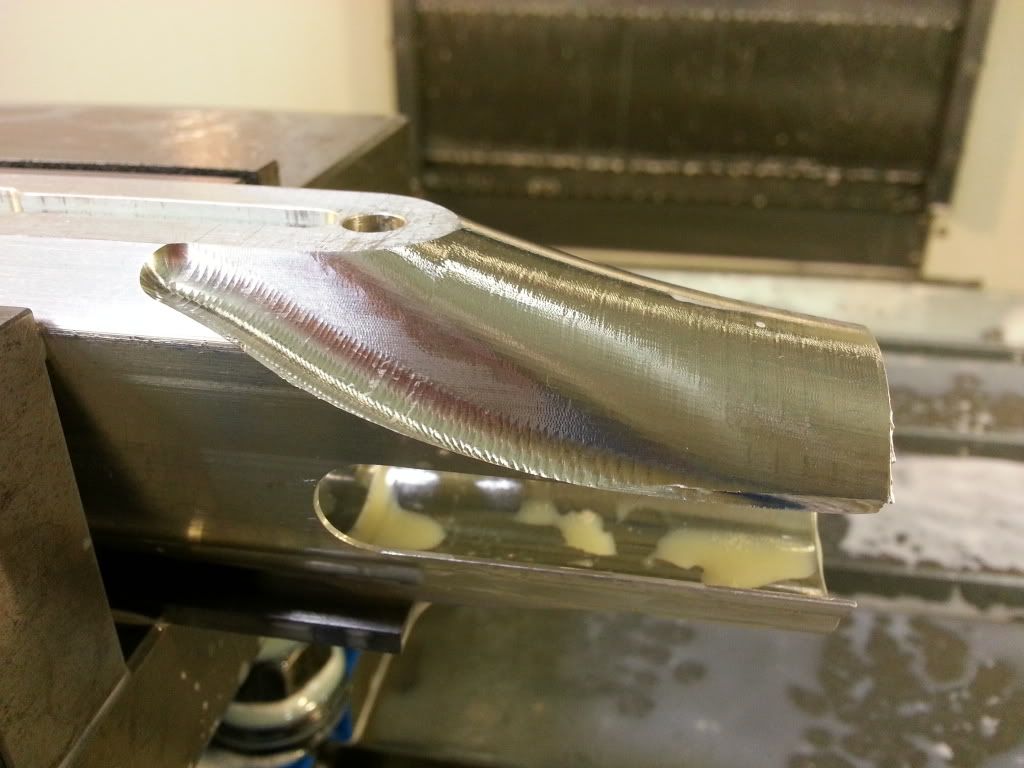
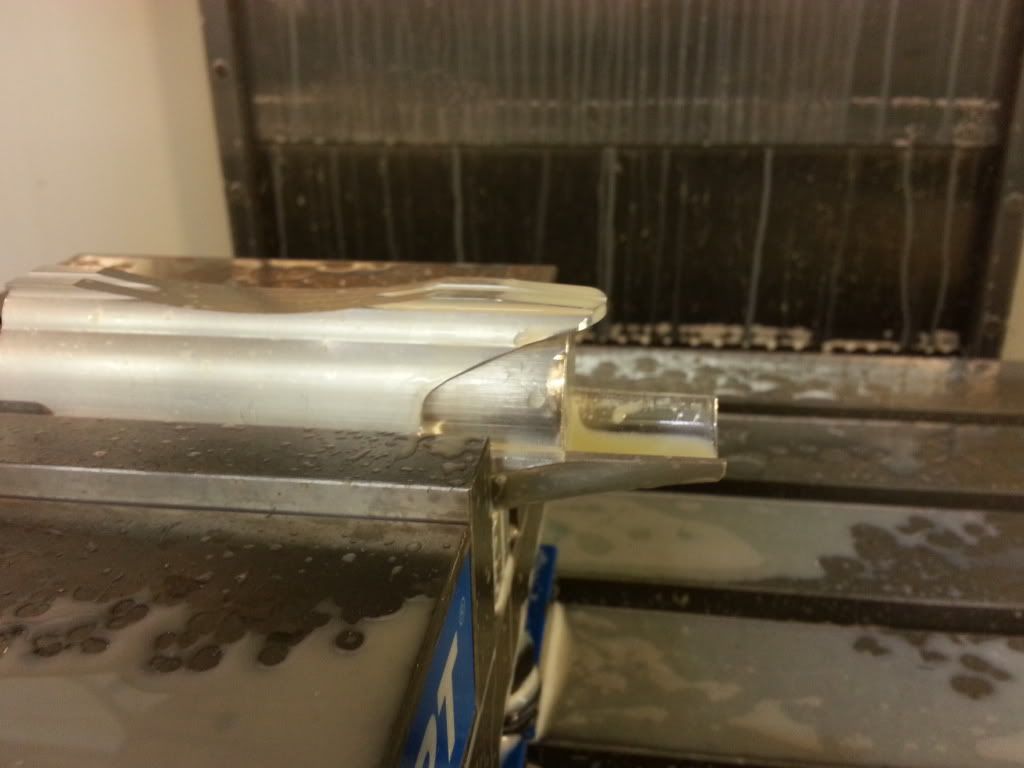
 and ta da, the front curve is done
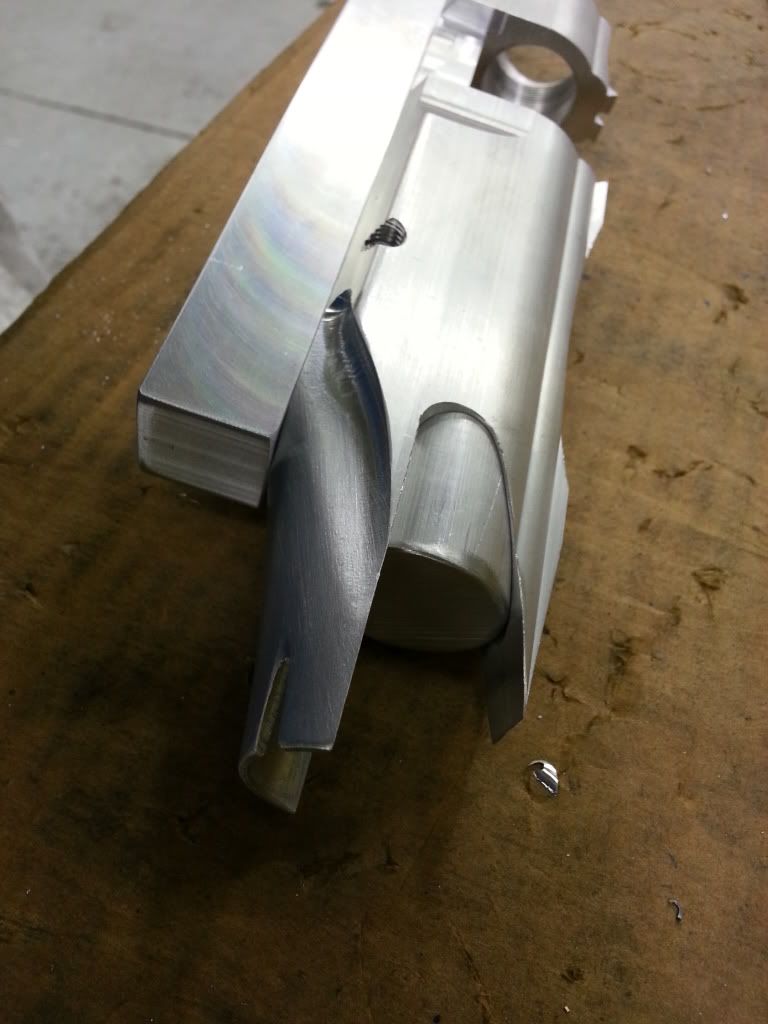
 here it is all de-burred
 next up I generated the rear bottom smooth face of the marker (part under the valve)
heres the roughing pass
next up I generated the rear bottom smooth face of the marker (part under the valve)
heres the roughing pass
 and after finishing pass
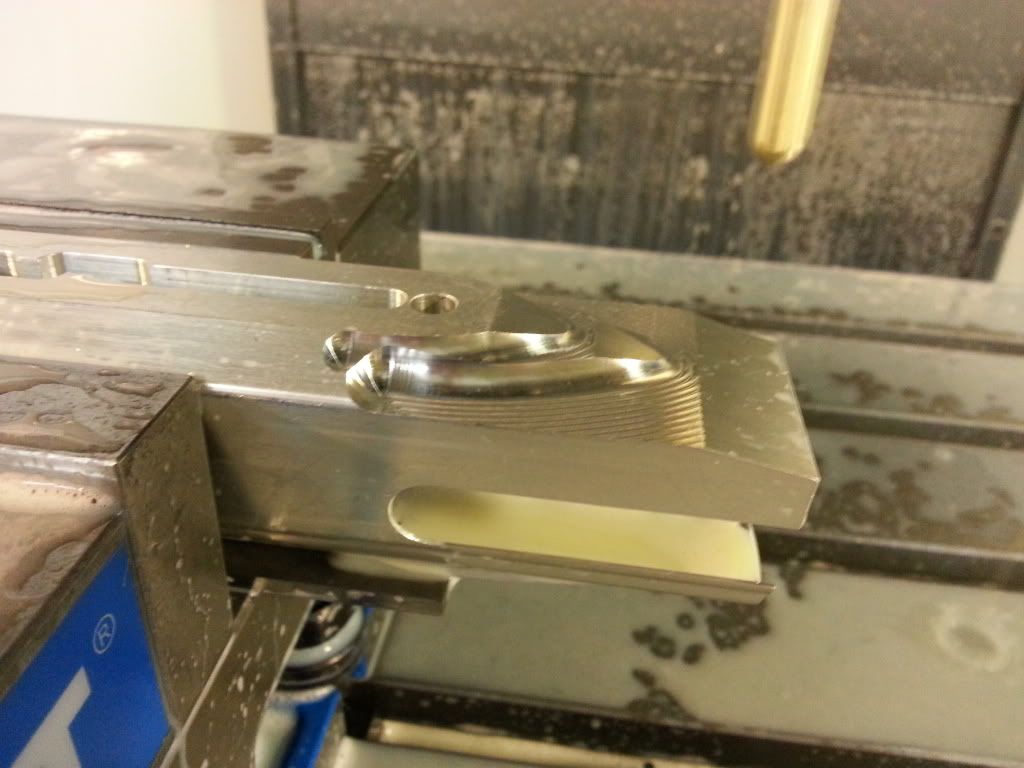
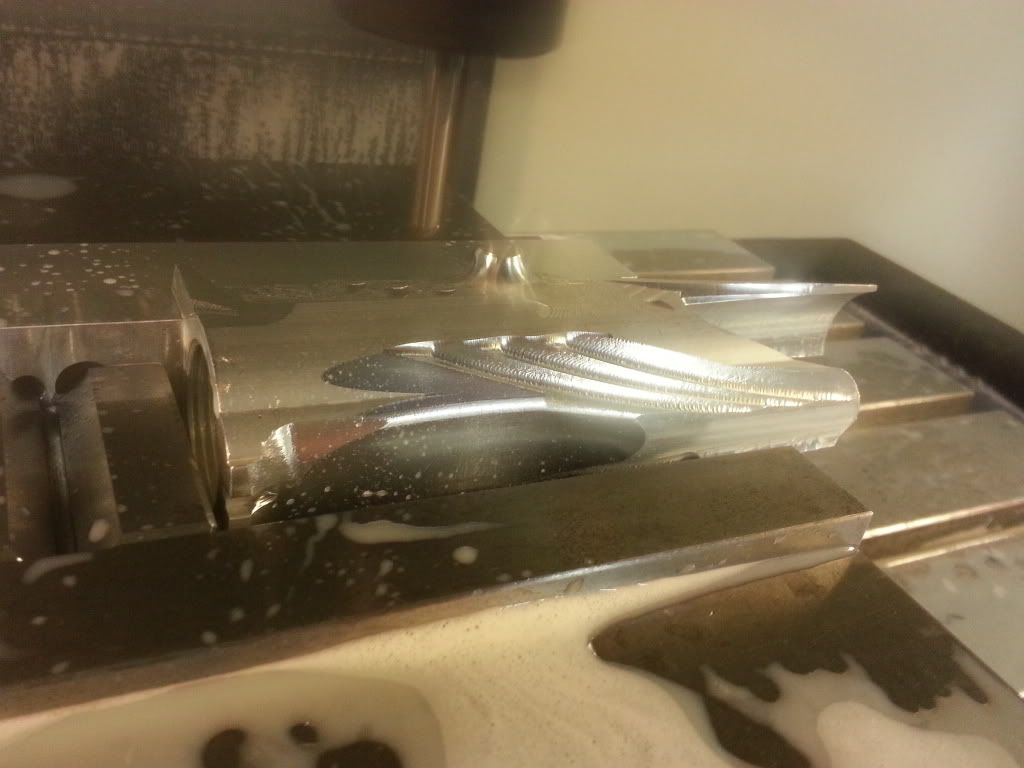
 next up I created the curve directly above the valve

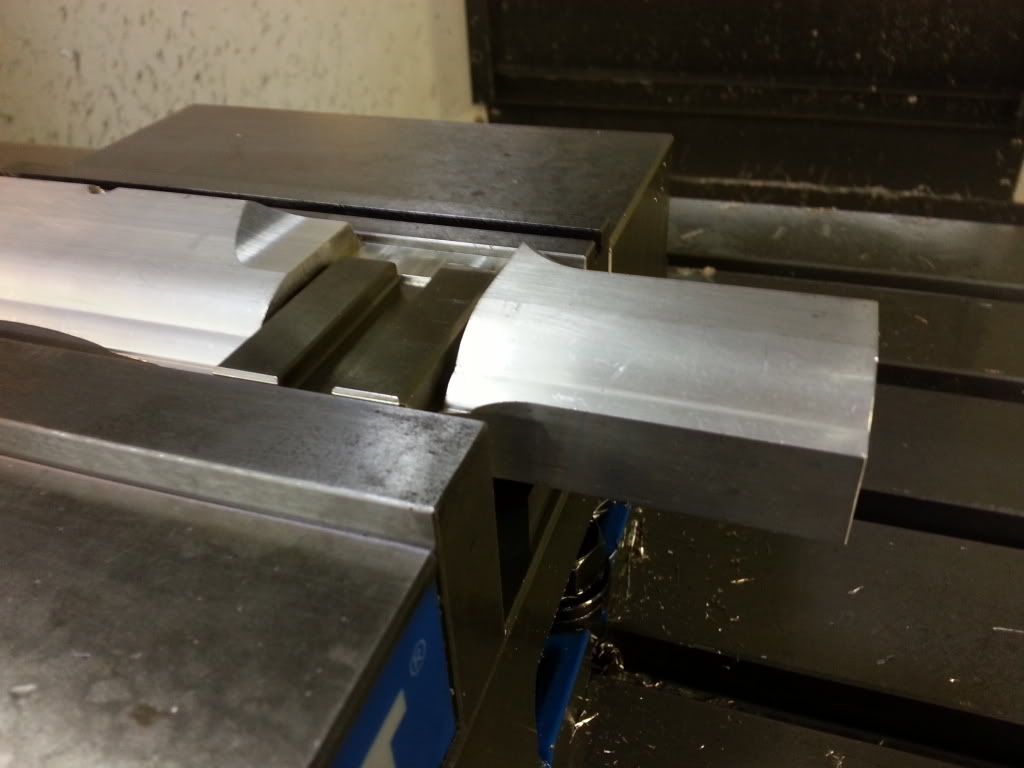
 to make the part easier/safer to work with in a conventional vise I made a small two part fixture. The first part is a simple rod with two diameters and a few threaded holes in the right locations to sit inside of the marker body where the valve and bolt assembly would normally go. The second part was a squared bar to side underneath of the body, I precisely controlled the size of a boss on the top side of this bar so that it was just shy of a press fit into the underside of a pocket near the front of the slug body. See the picture below. The locating boss was very important so that I could indicate the left and right faces of the body without actually touching either side of the physical body (allowing me to fully machine each side in separate operations without losing indicating surfaces between ops)
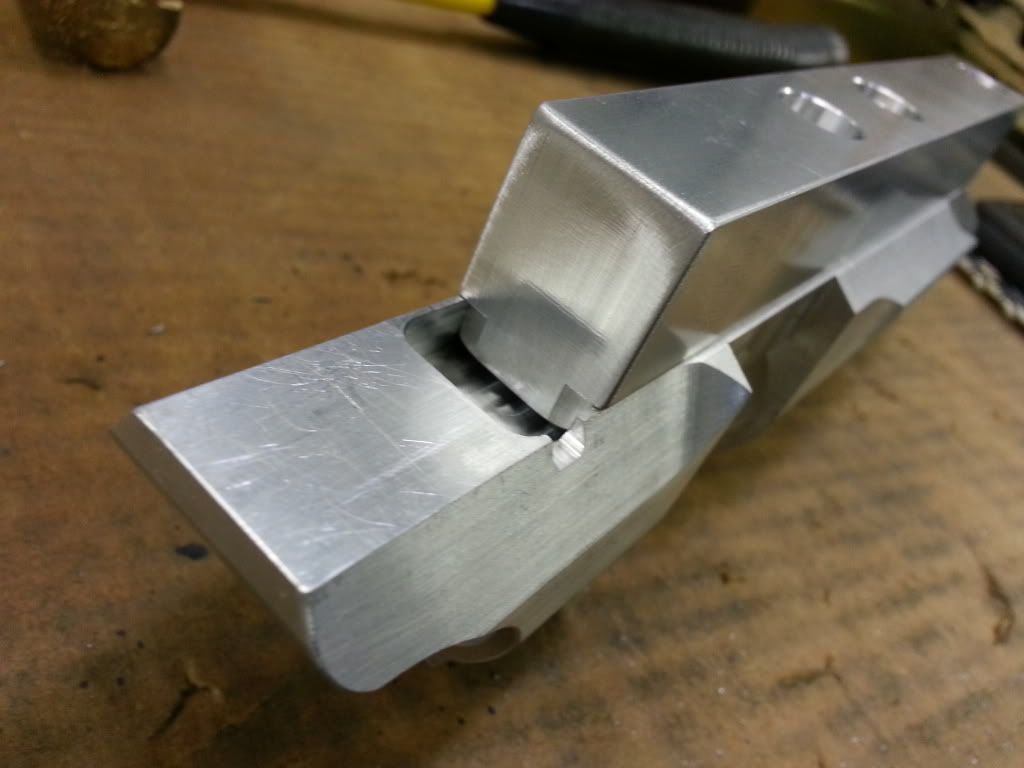
 next I rounded the top rear, on top of the valve, and then proceeded to finish machine the top surfaces of the body as I would not be able to get at them from the left or right sides when I finish the sides later.

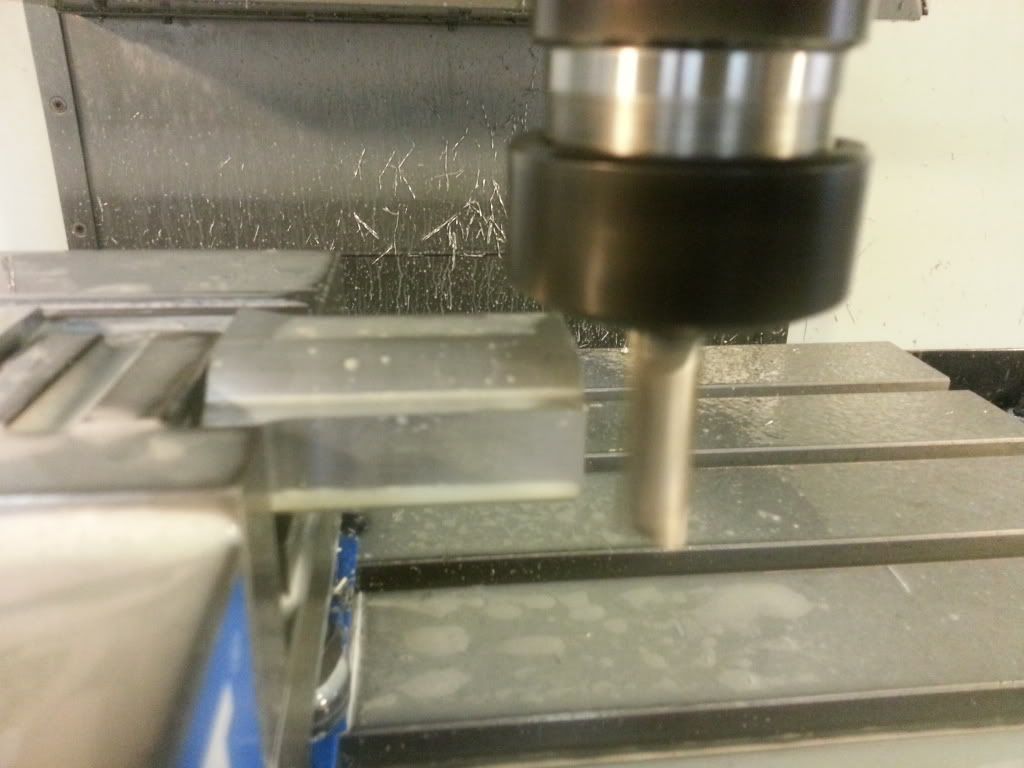
 finally ready to work on the sides of the body, right side first, note the orientation of the parallels and v block I was using to hold the part in the vise.
 after roughing
 machining anxiety is a breed all its own
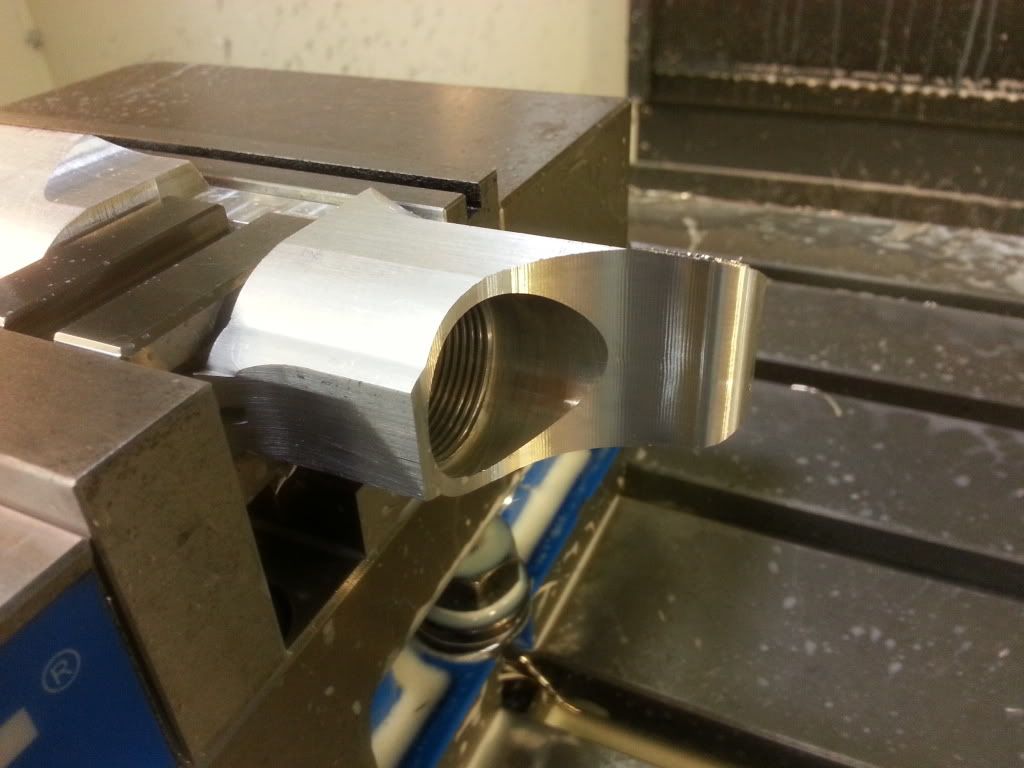
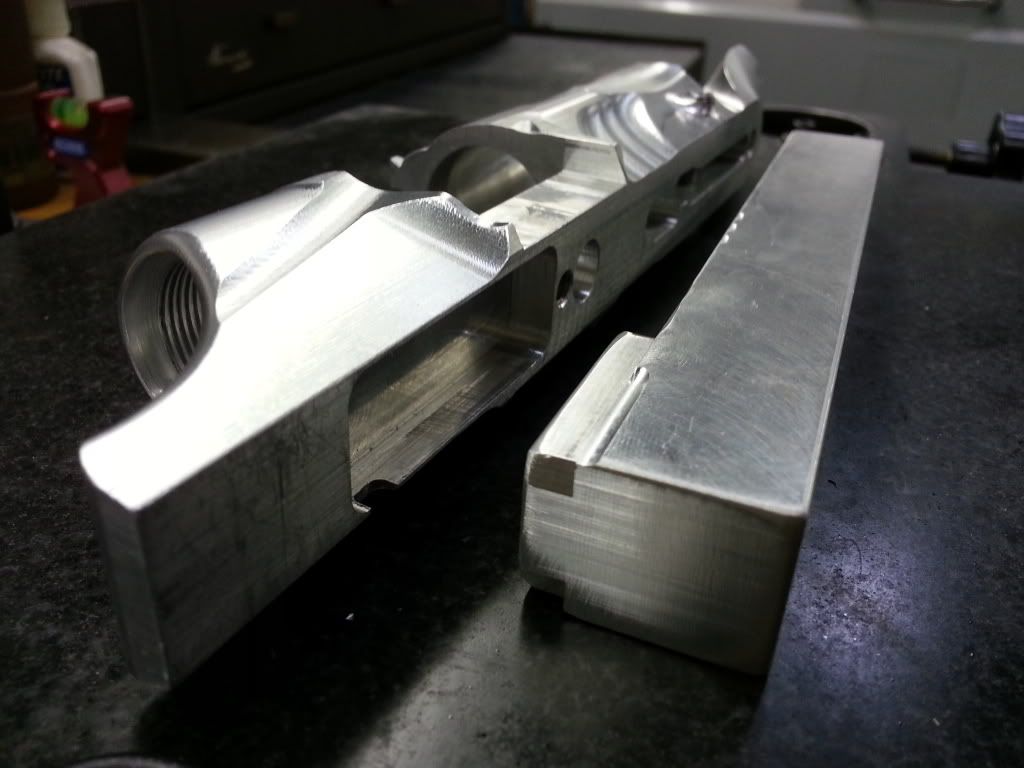
 after finishing
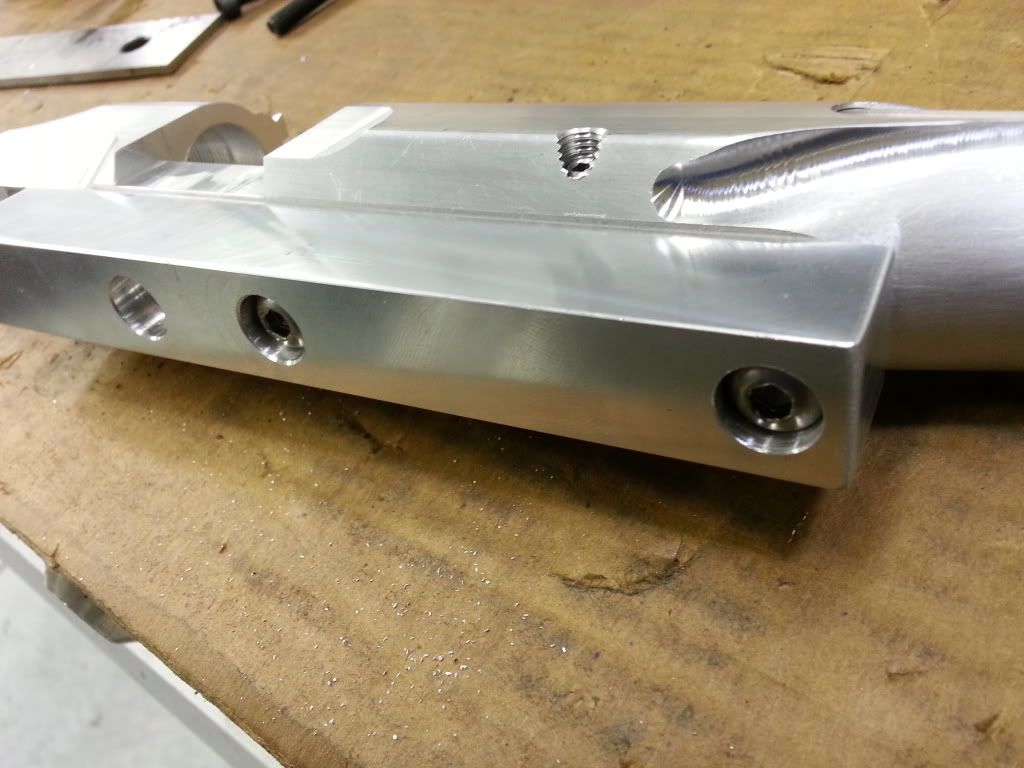
 here is a clearer view of the fixture bottom
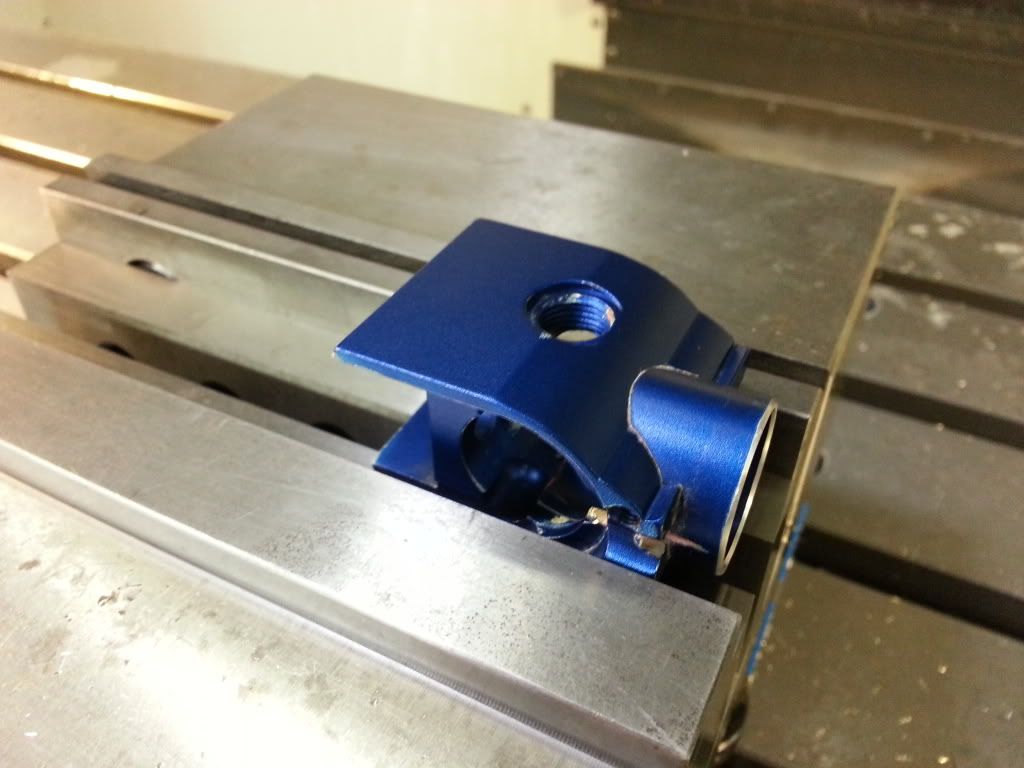
 same concept for the breech machining ops and battery pack only very small and simple operations
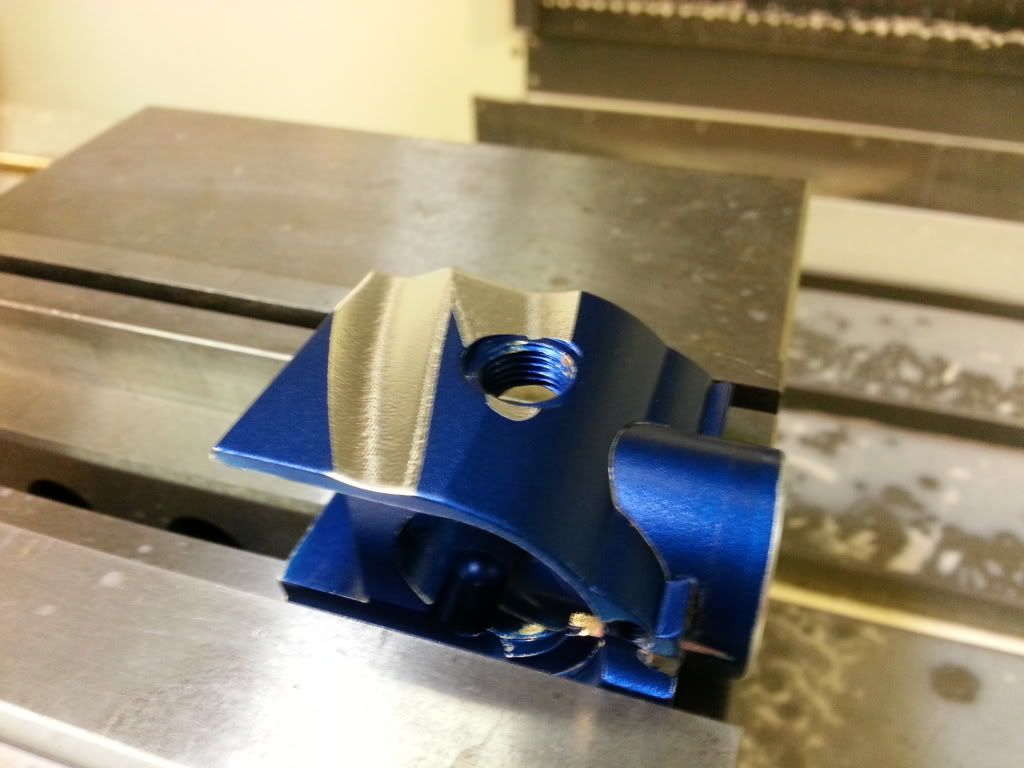 starting to look like something now at least

 after many hours of hand sanding/polishing to remove those pesky tool marks and make Stephens job a hell of alot easier
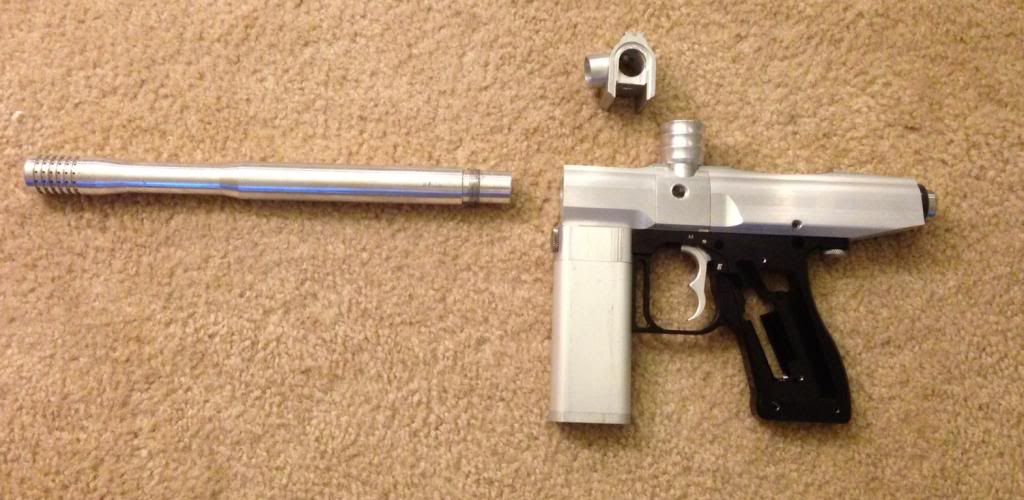
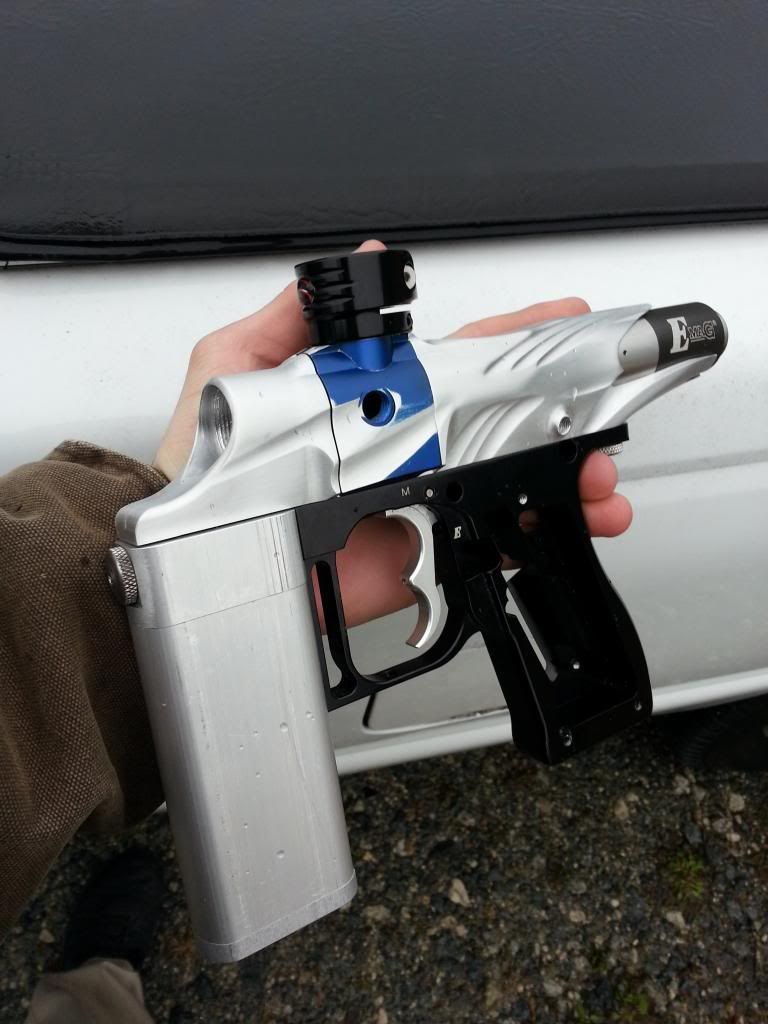 got the marker sent back to Rob, get a tantalizing glimpse of the future a few weeks later
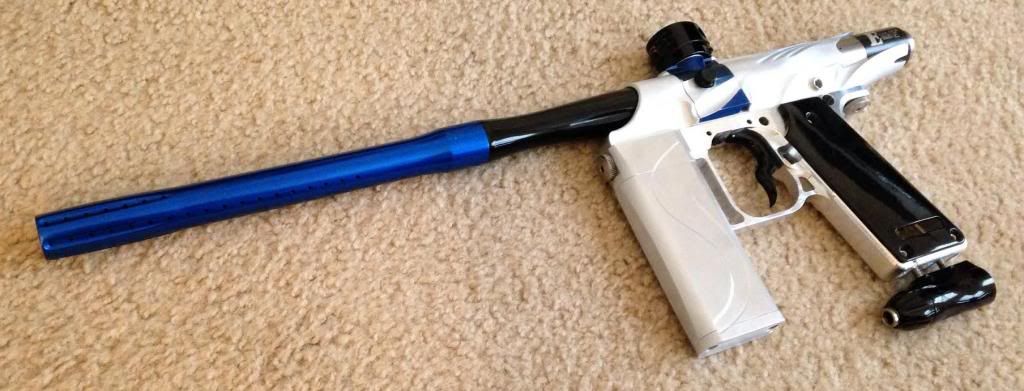 Rob got the marker sent to Caustic, then we simply play the waiting game for a bit...to yield this
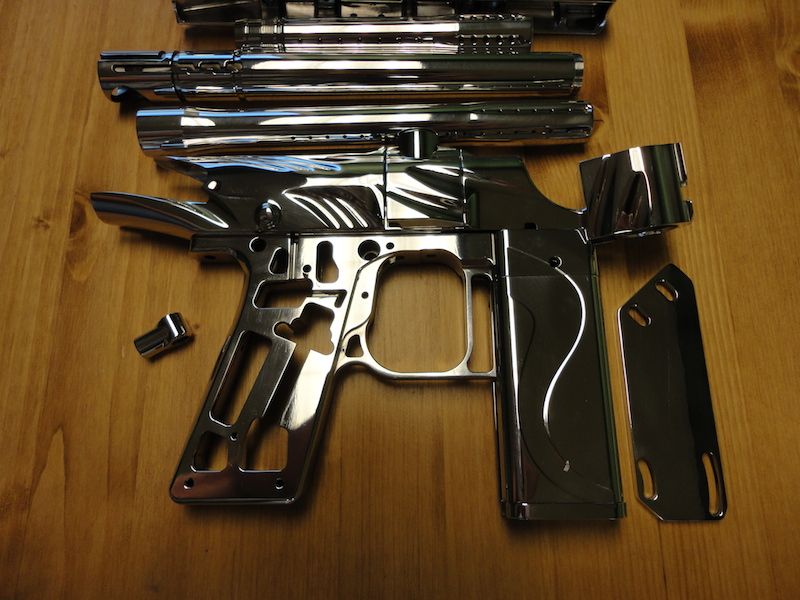
 and last but certainly not least Ben gets his turn to work his magic and make this whole project appear as professional as it should
 hope that was informative
[QUOTE=ElPanda;2859345
Worst feeling in the world when you scrap a high value part(s)...[/QUOTE]
I know the feeling. That sick pit'o the stomach knot. Even working with expensive materials. Crap called Torlon comes to mind. HATED working with it.
(also, make one for me!)
Put me down for one if you should ever consider milling more than just one of these again - absolutely gorgeous